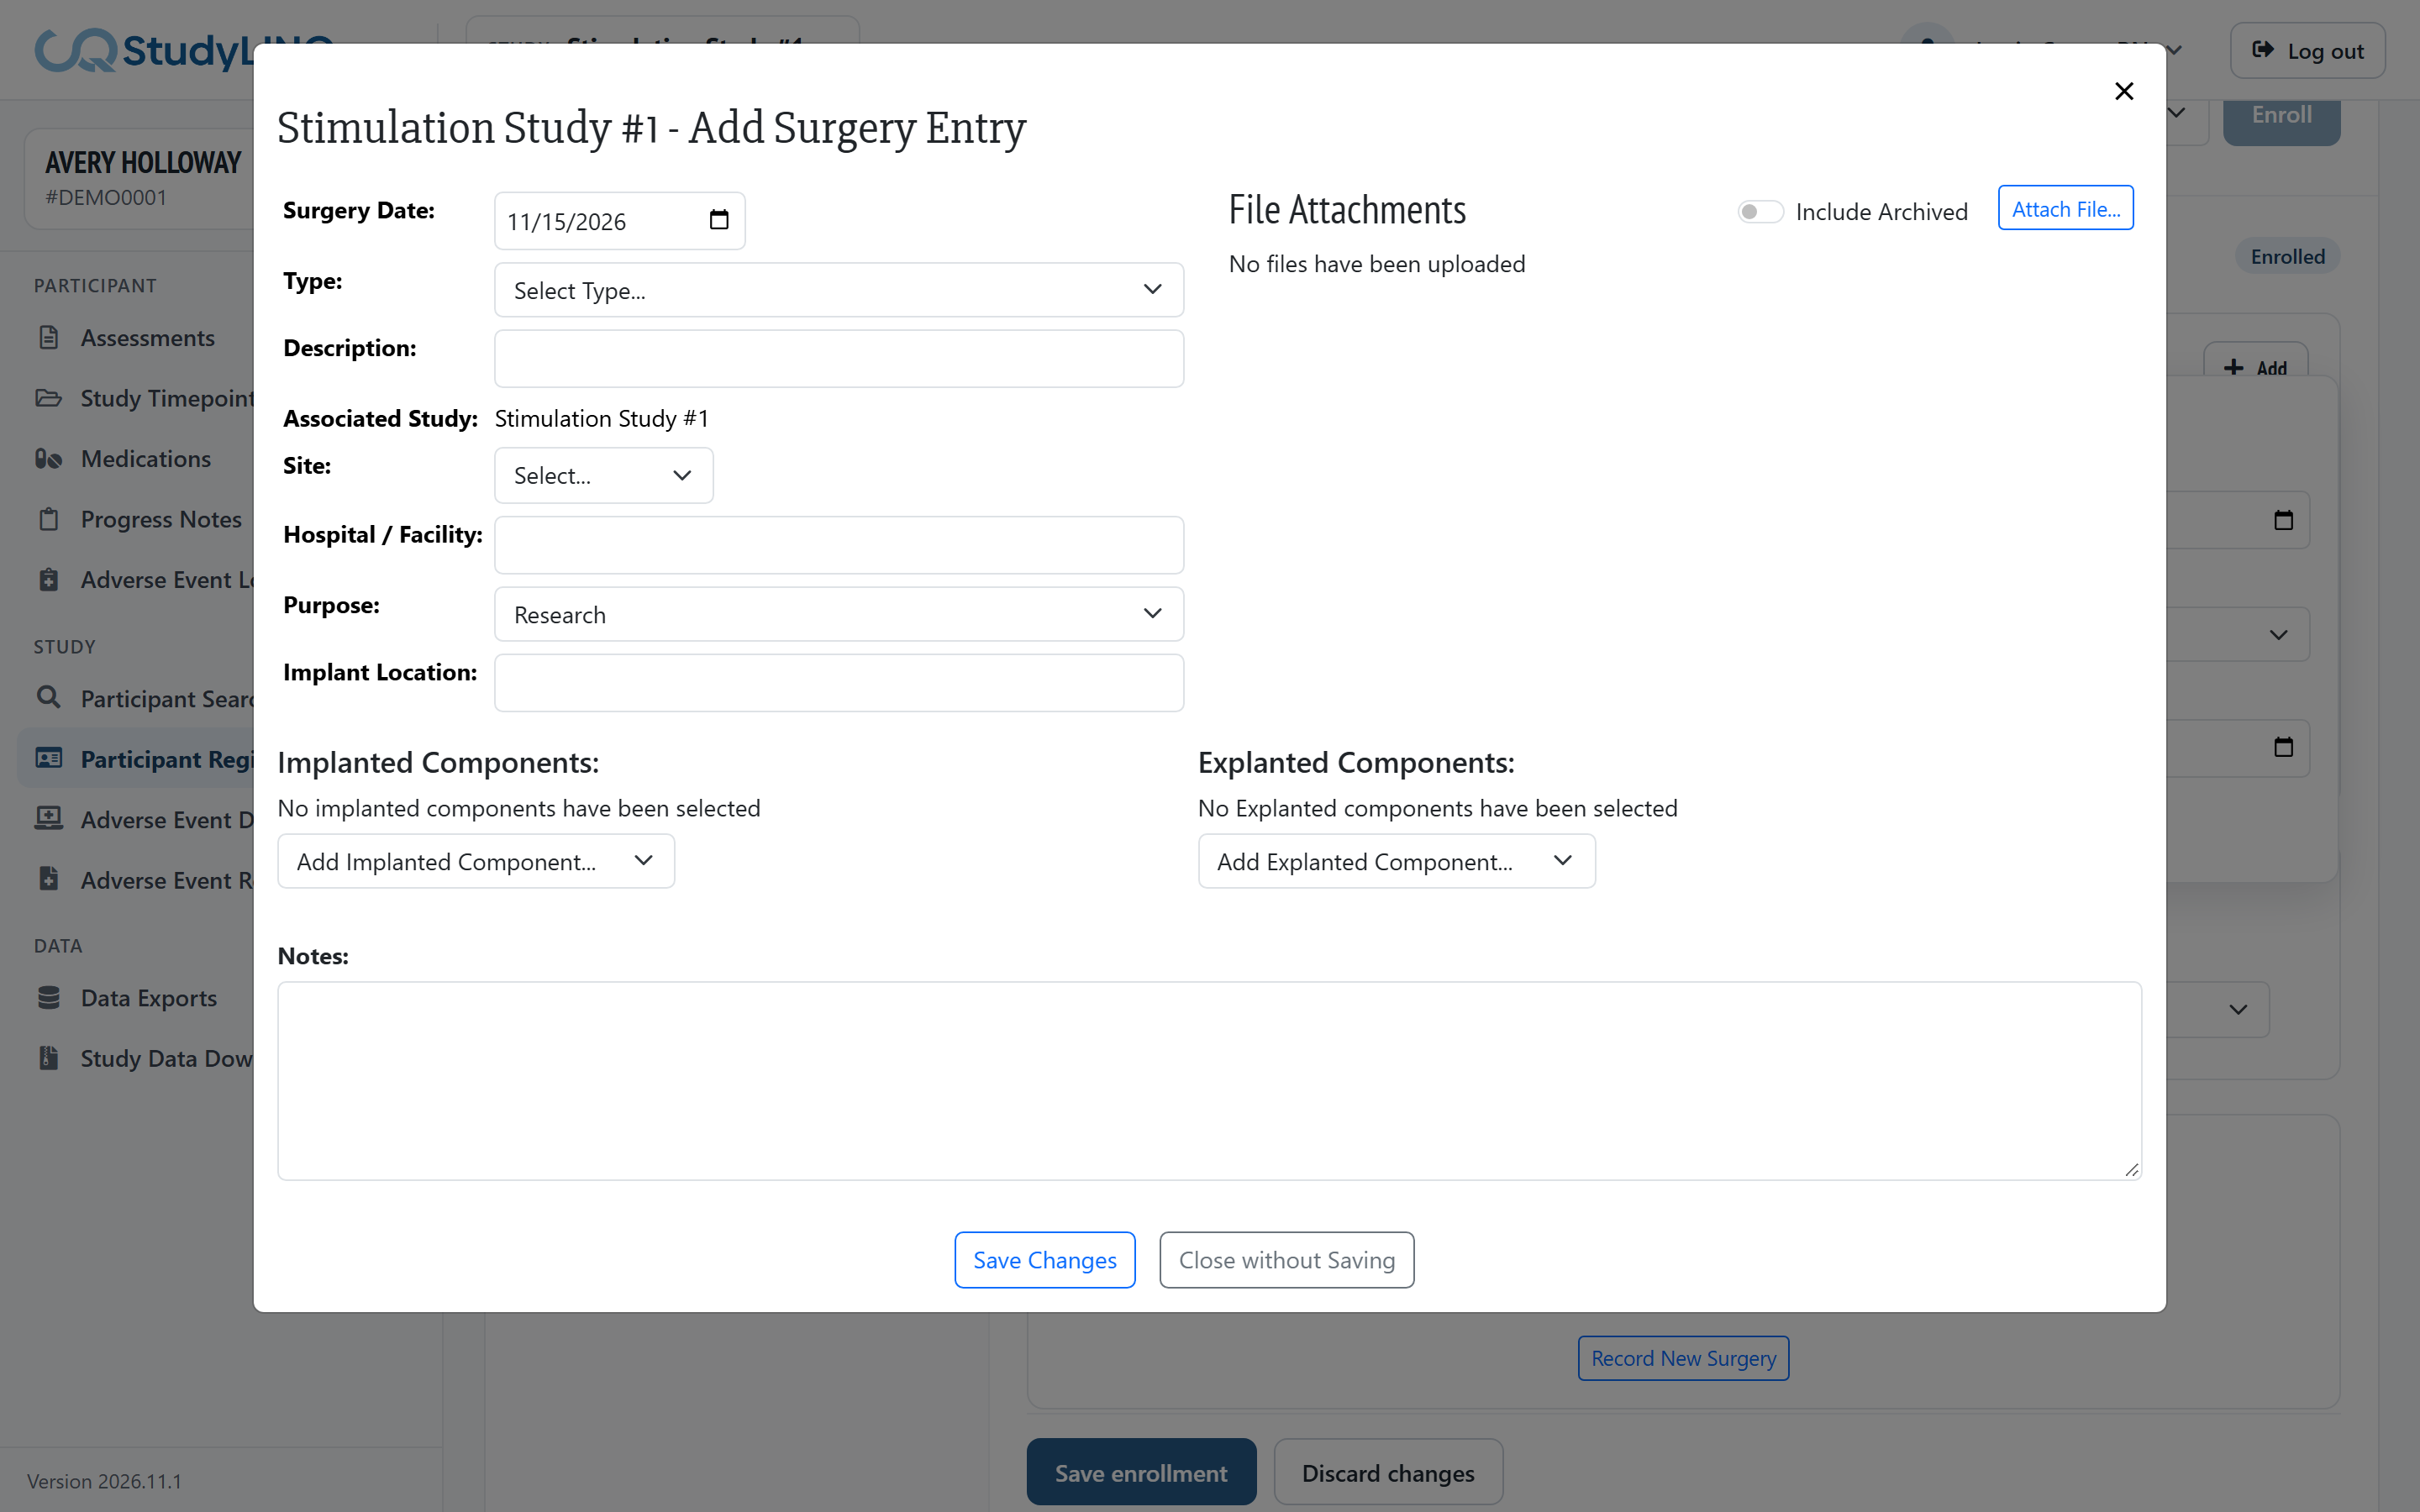
Participant Registration has three steps, shown at the top of the page. Each step opens once the one before it is done:
-
Registration – the participant's details at this facility
-
CrossIQ – the participant's QIndexID
-
Study enrollment – status, dates, consent, care team and surgeries for each study
Participant Registration is available to administrators and study coordinators.
Registering a new participant
-
Make sure no participant is loaded (click the × on the participant card if one is). Or, with a participant loaded, click Register a new participant on Participant Registration.
-
In the side menu, click Participant Registration. New participant opens.
-
Fill in the Registration section:
-
Account – Account number (unique to the person), Registration status, and Test case for test records (test cases are left out of study reporting)
-
Name & identity – first, middle and last name, Date of birth, Sex assigned at birth, Social Security number. You can use the participant's study ID in place of their name to keep identifying information out of StudyLINQ.
-
Demographics – race, ethnicity, marital status, Gender identity, Preferred pronouns, height and weight
-
Contact and Clinical (diagnosis)
-
-
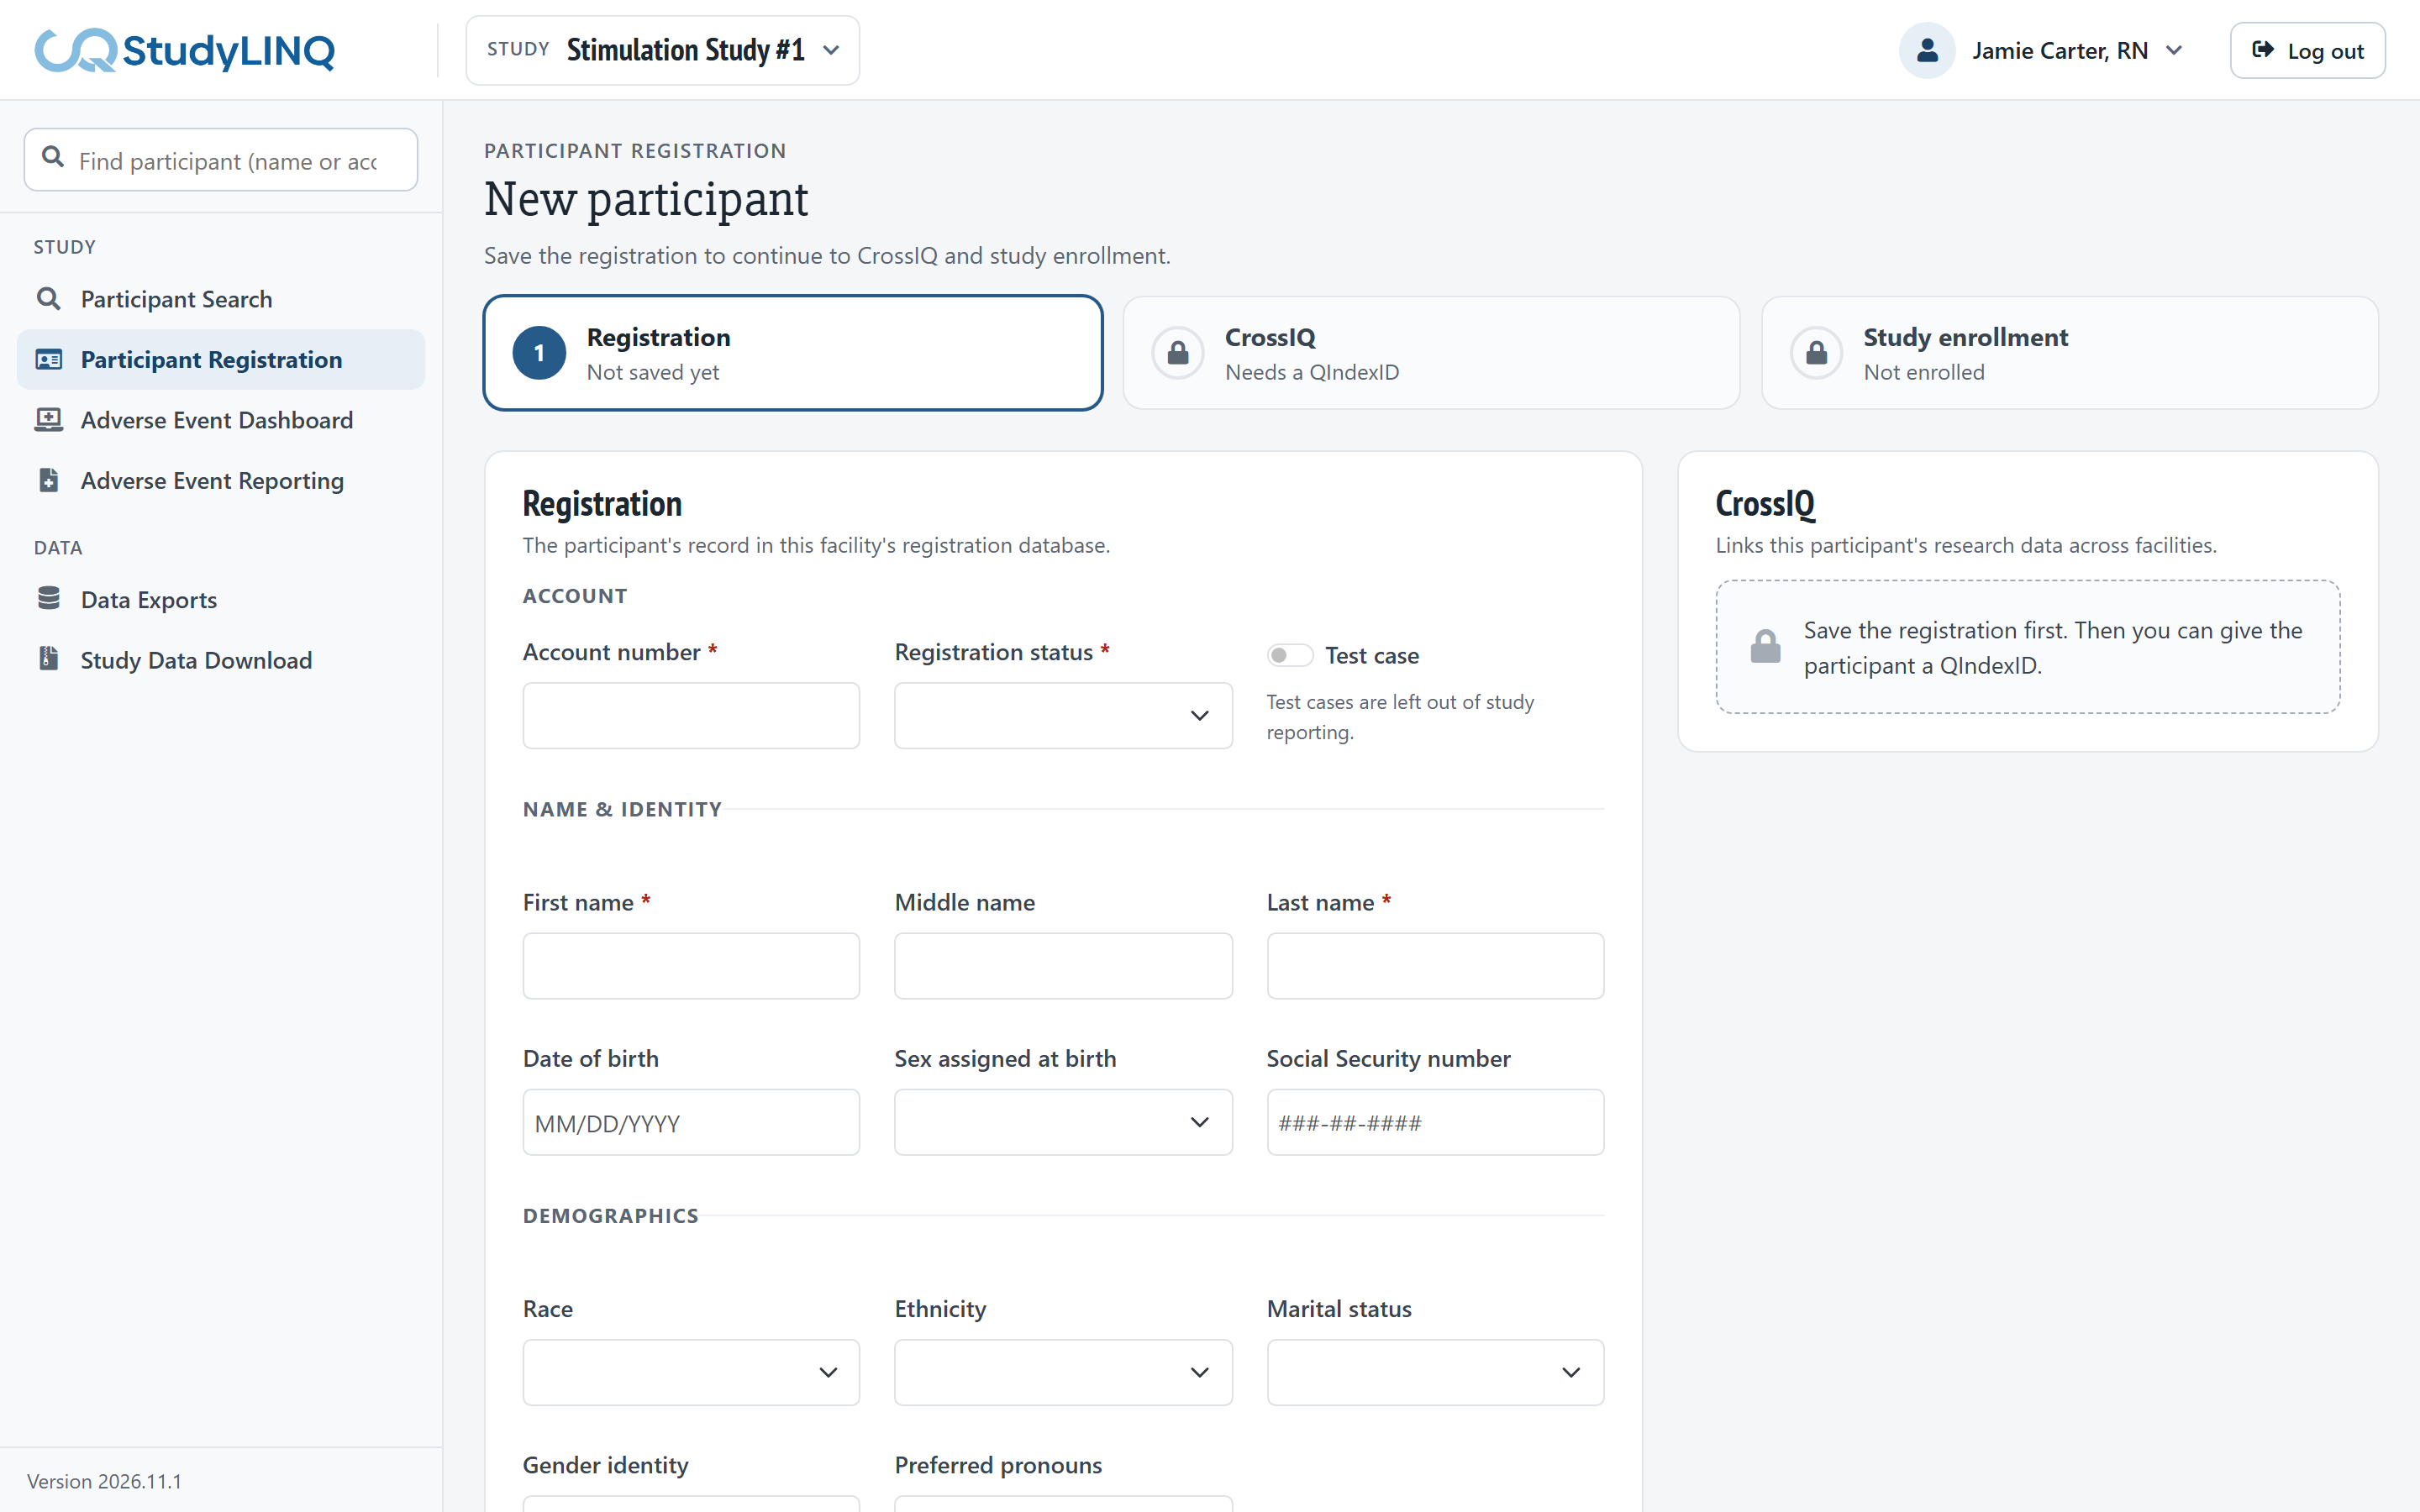
Click Save registration.
-
Dates can be typed in most styles (for example 1-2-1980); they're changed to MM/DD/YYYY.
-
Height and weight can include units, for example 5'10", 70 in, 178 cm, 165 lb or 75 kg.
-
A field with a problem is outlined in red, with the reason under it. Correct it before saving.
The participant is saved and loaded, and the CrossIQ step opens.
Updating a participant's registration
-
Load the participant, then click Participant Registration.
-
Change the details. You have unsaved changes shows until you save.
-
Click Save changes.
Giving the participant a QIndexID (CrossIQ)
Choose one:
-
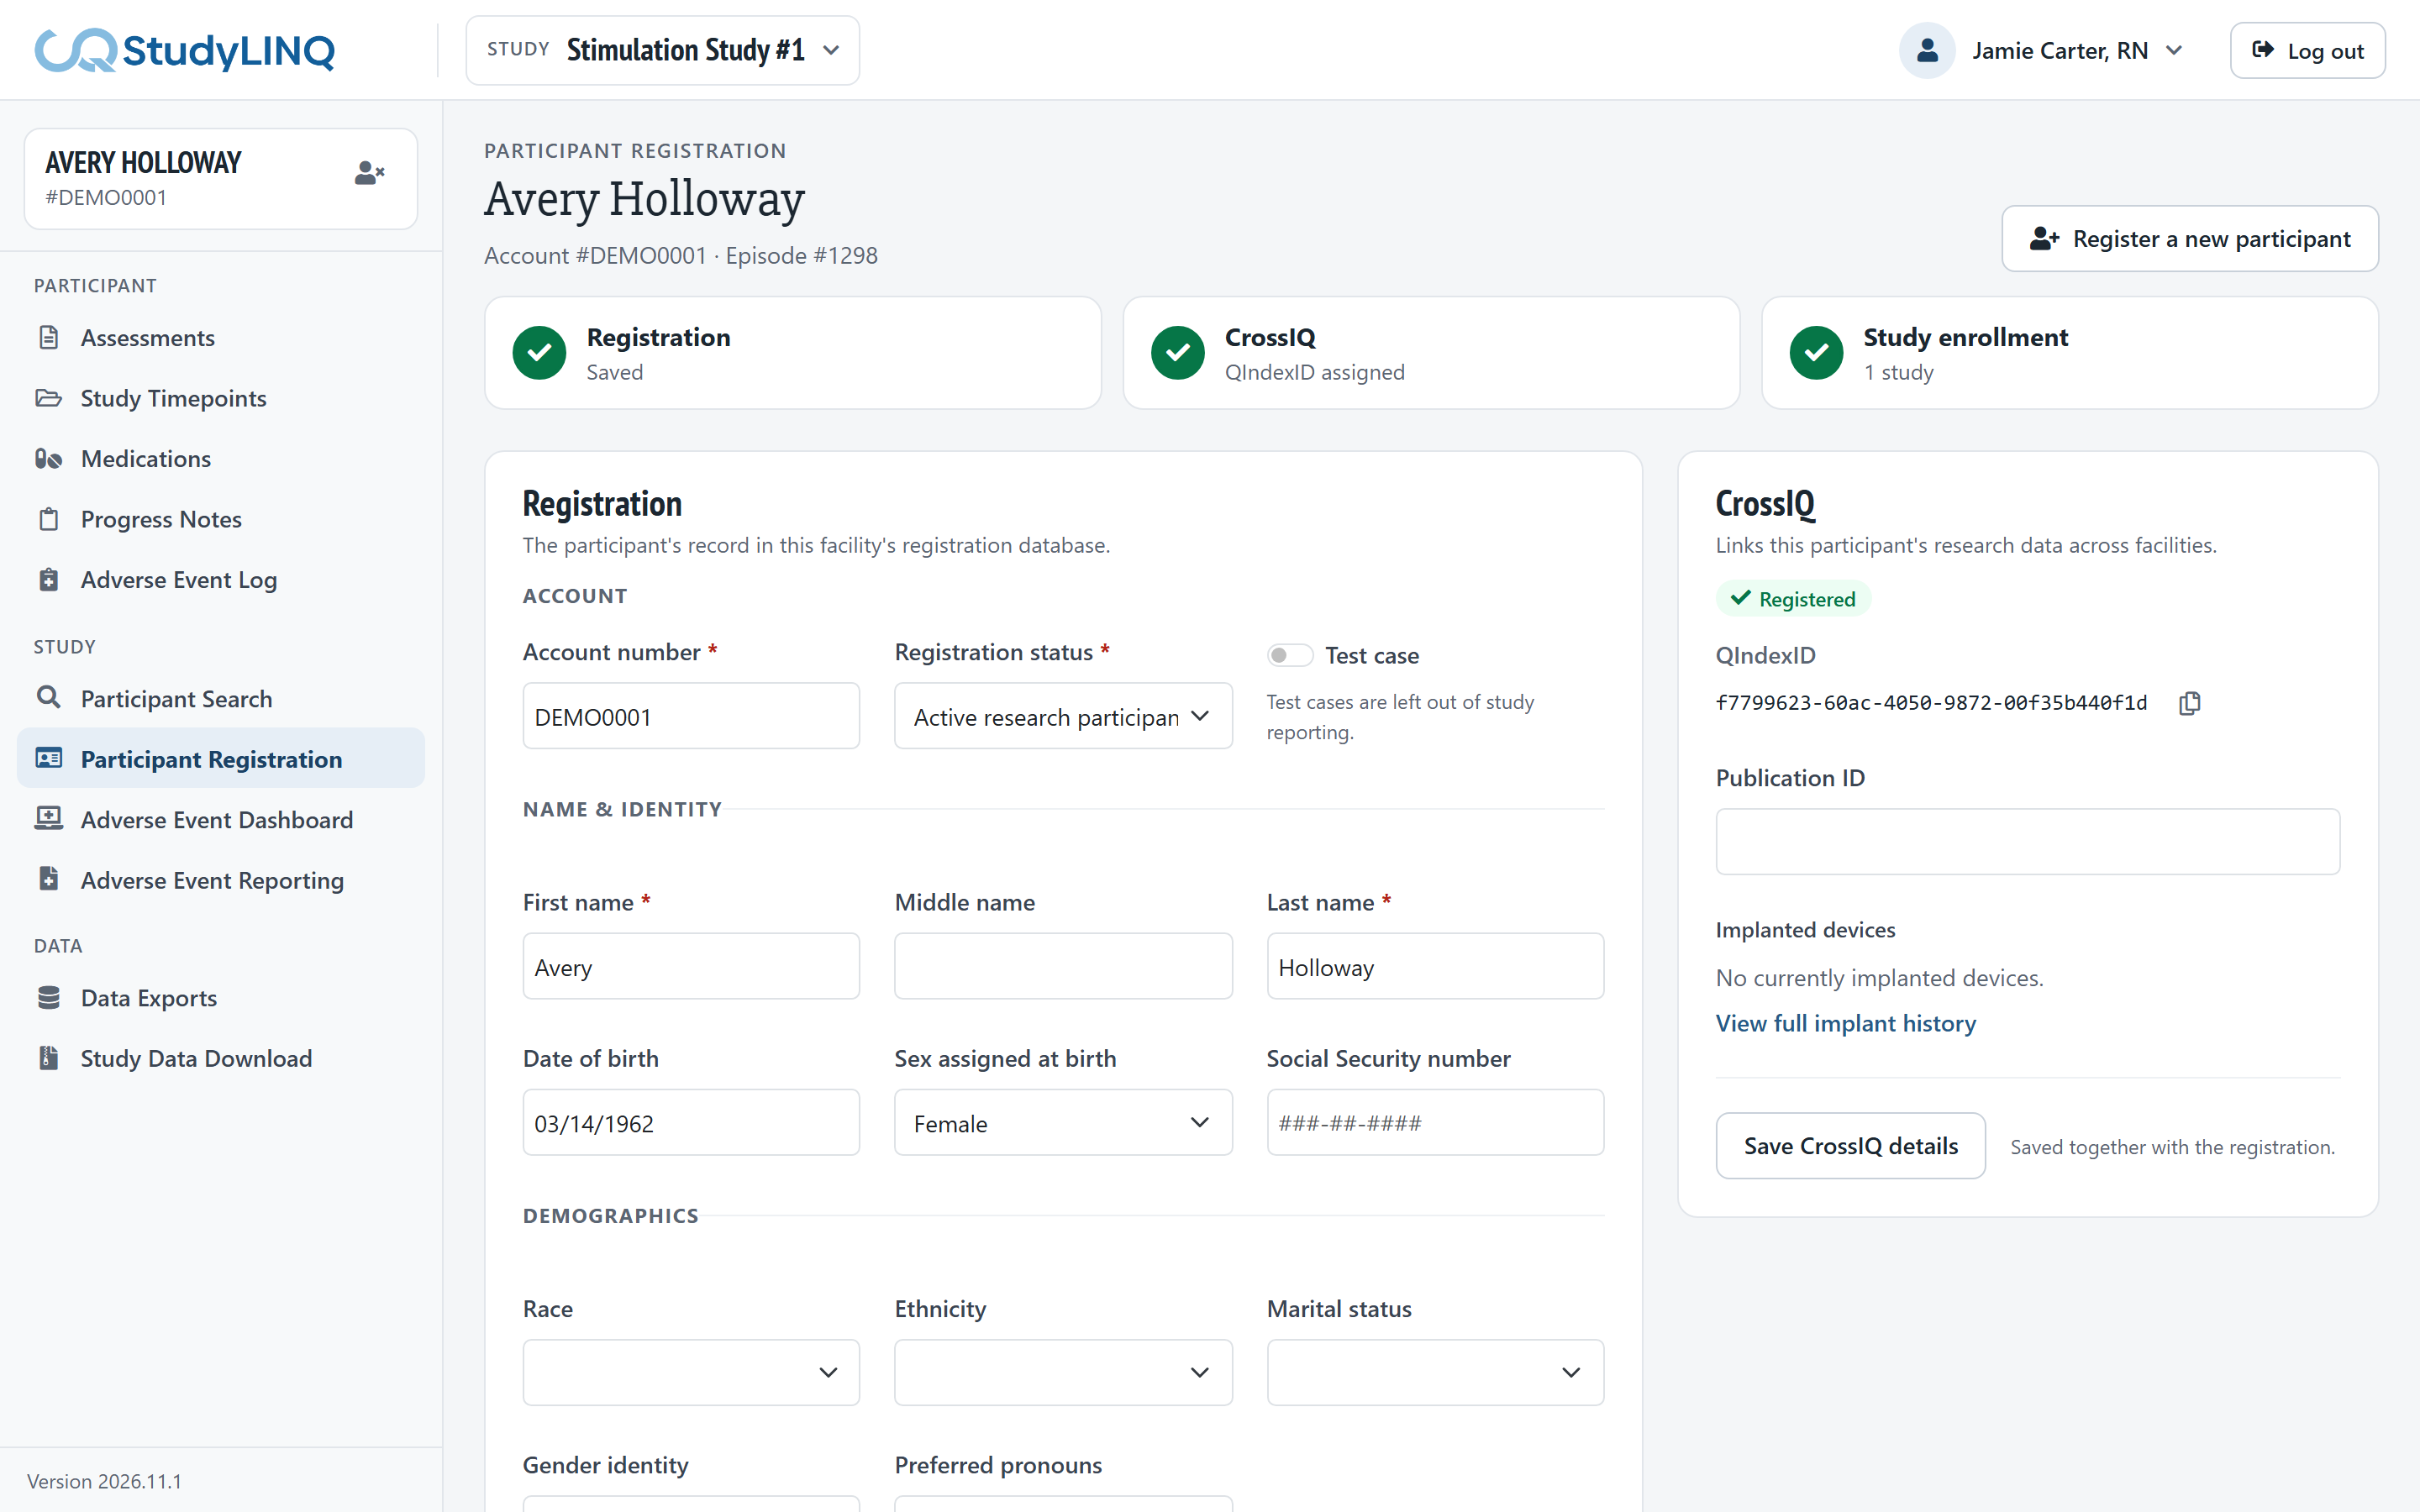
New to research: click Create new QIndexID.
-
Previously enrolled at another facility: enter their Existing QIndexID and click Connect existing QIndexID.
The page reloads with the QIndexID shown. You can then set the Publication ID and Stimulation software, and click Save CrossIQ details. View full implant history lists the participant's implanted devices.
Enrolling the participant in a study
-
Under Study enrollment, choose the study in Study to enroll in.
-
Click Enroll. The page reloads with the study's enrollment details open.
-
Complete the Enrollment details: Status, Research participant ID, Enrollment date and Assigned group.
-
Click Save enrollment.
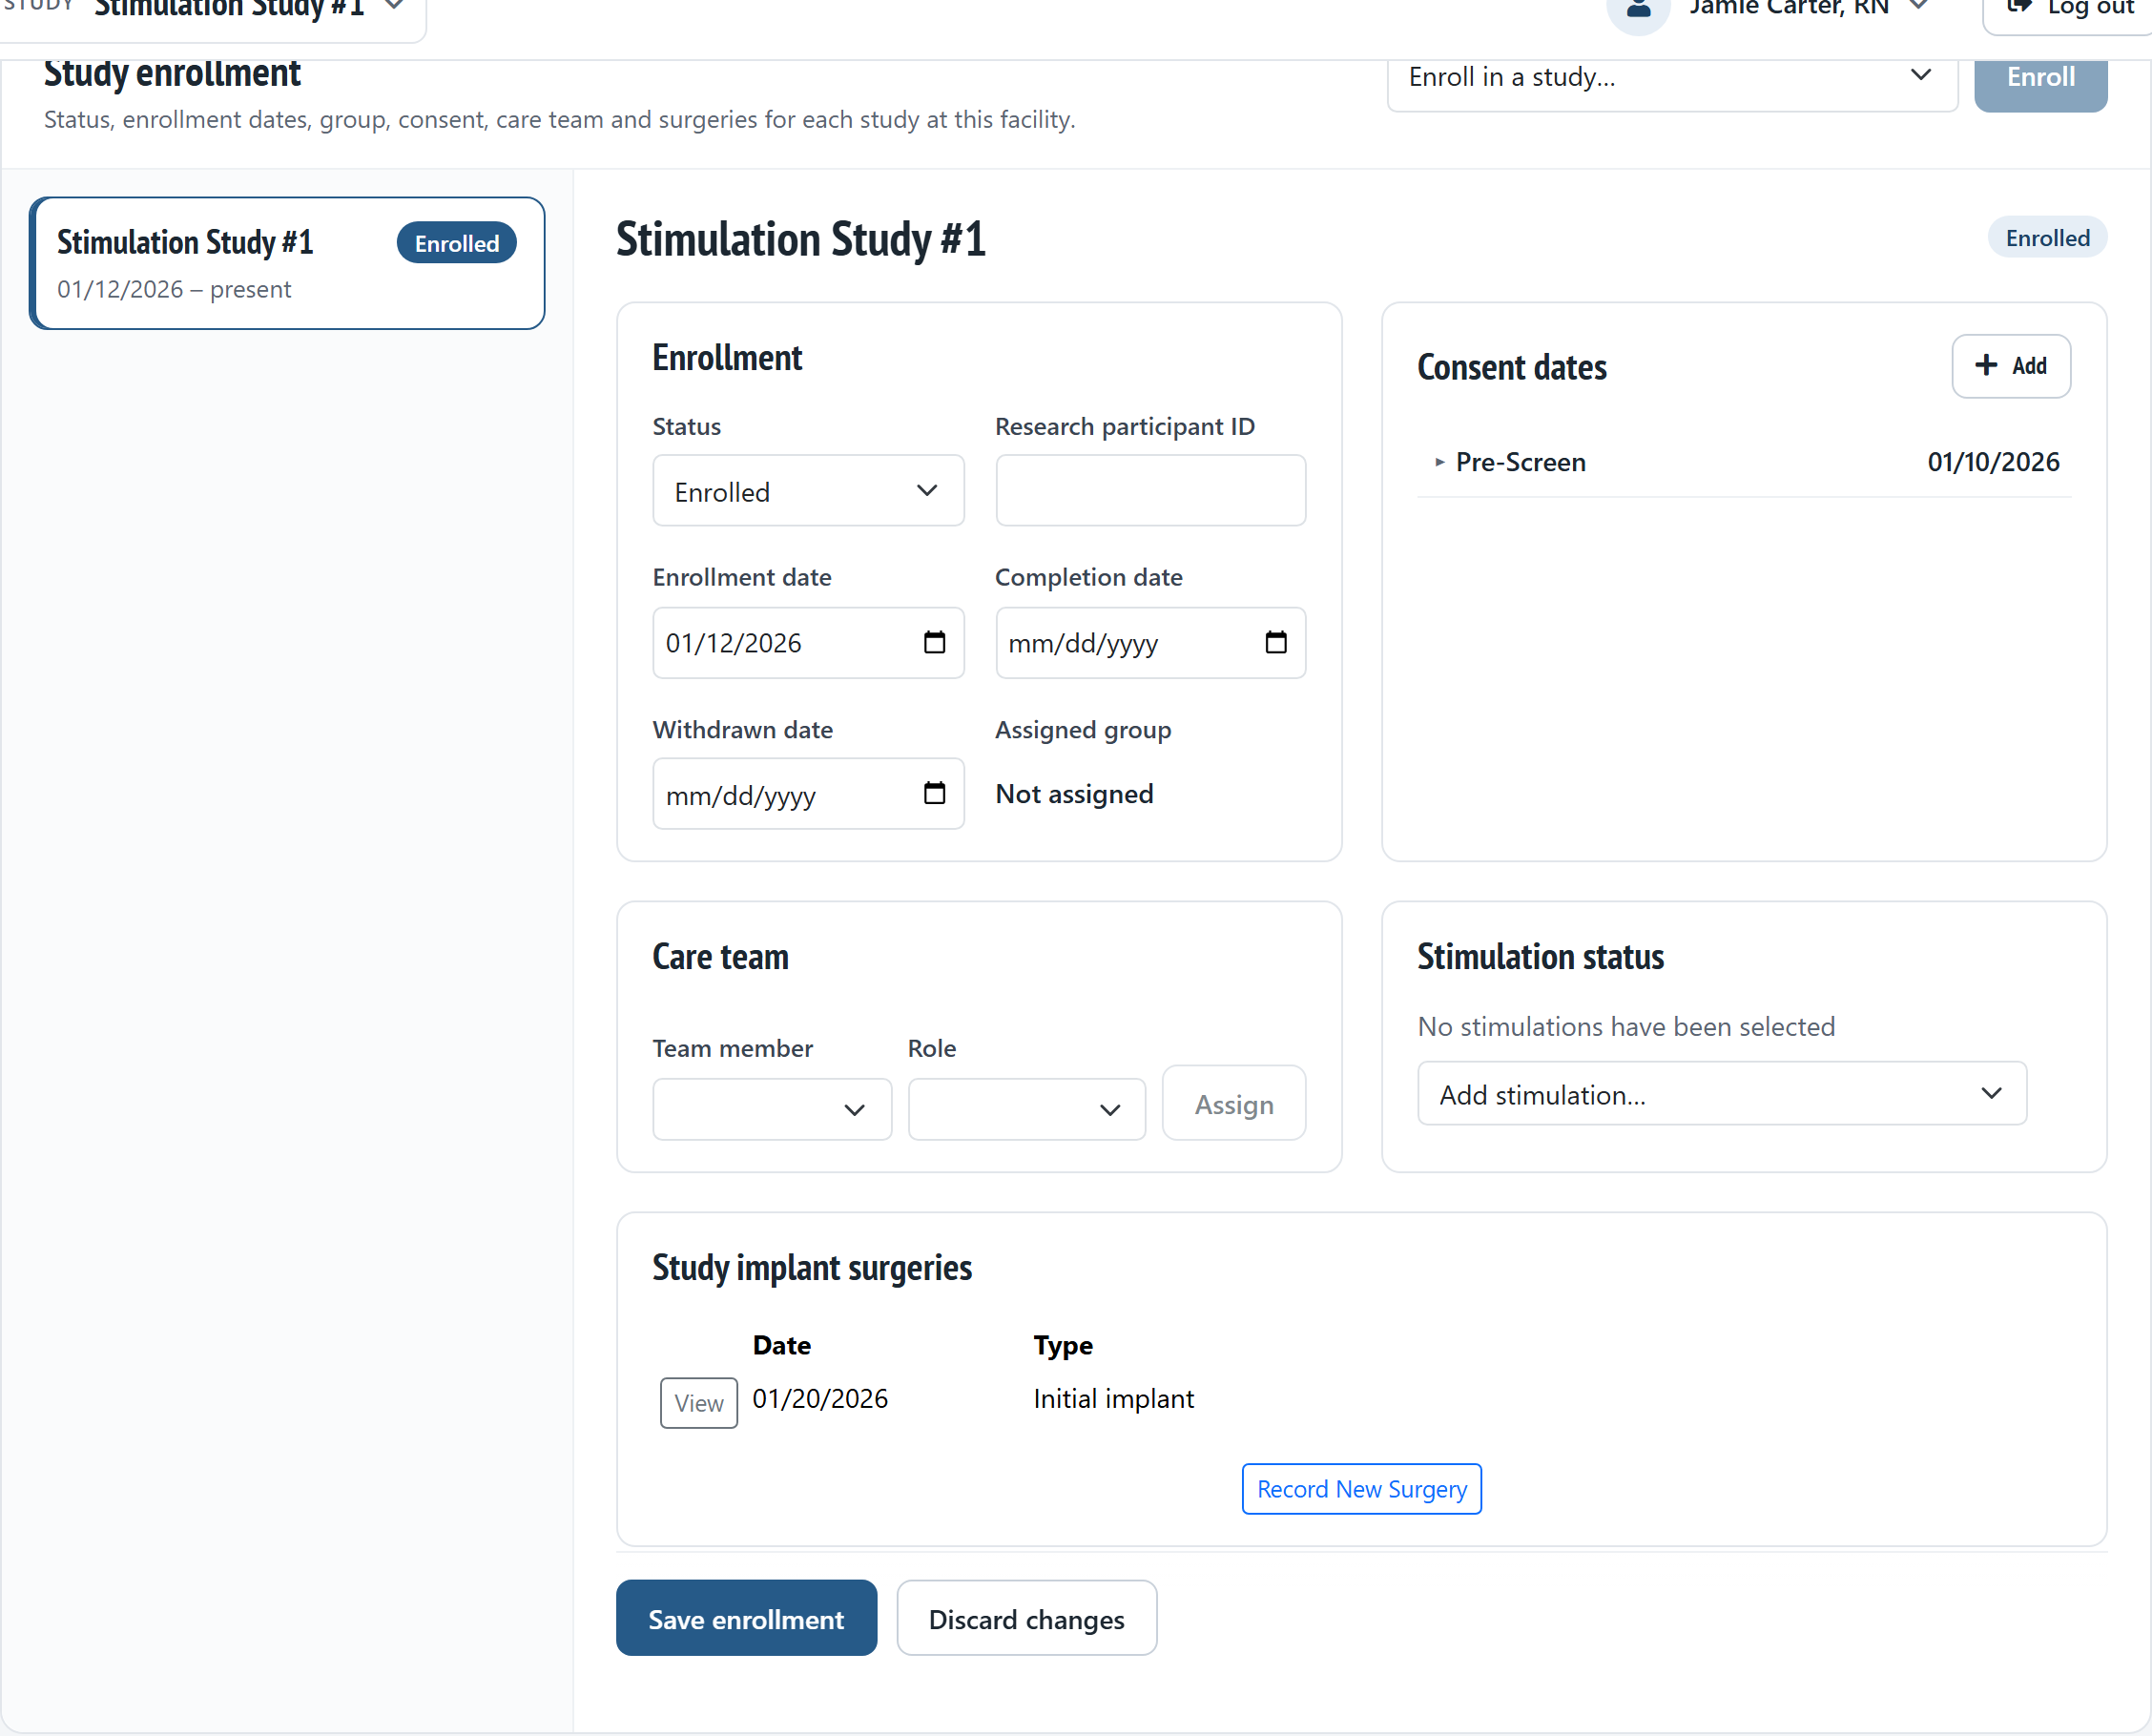
To open another study's details, click the study in the list on the left. Discard changes reloads the saved details (it asks first if you have unsaved changes).
Completing or withdrawing a participant
-
Open the study's enrollment details.
-
Change the Status (for example to Completed or Withdrawn).
-
Enter the Completion date or Withdrawn date.
-
Click Save enrollment. The status in the study list updates.
Re-enrolling a participant
Some studies allow a participant to enroll again after completing or withdrawing.
-
Open the study's enrollment details and save any changes.
-
Under Re-enroll this participant?, click Yes, re-enroll.
-
Check the status, enrollment date and completion or withdrawn date of the current enrollment. They can't be changed after re-enrolling.
-
Click Details confirmed, re-enroll participant.
The earlier enrollment moves to Previous enrollment periods.
Recording consent dates
-
Open the study's enrollment details.
-
Under Consent dates, click Add.
-
Enter the Consent date, choose the Consent type and enter the Consent version date.
-
Click Add, then Save enrollment.
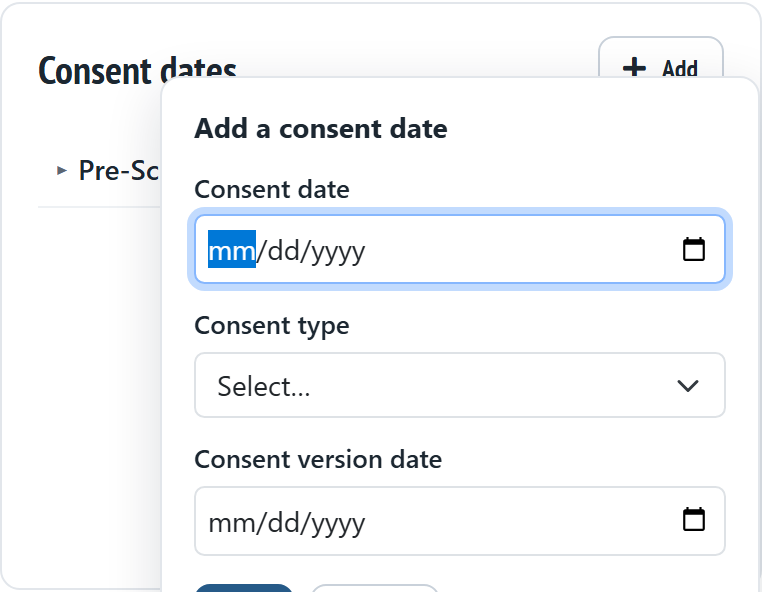
To remove a consent date, click the × next to it, then Save enrollment.
Assigning the care team
-
Open the study's enrollment details.
-
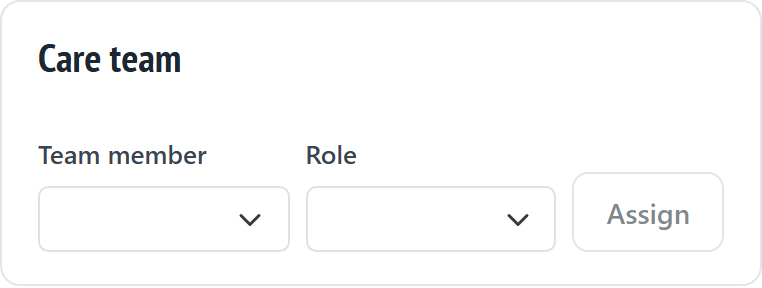
Under Care team, choose the Team member and their Role, then click Assign.
-
Click Save enrollment.
To take someone off the care team, click Remove on their row, then Save enrollment.
Stimulation status
Under Stimulation status, choose an entry in Add a stimulation, then click Save enrollment.
Recording a study implant surgery
-
Open the study's enrollment details.
-
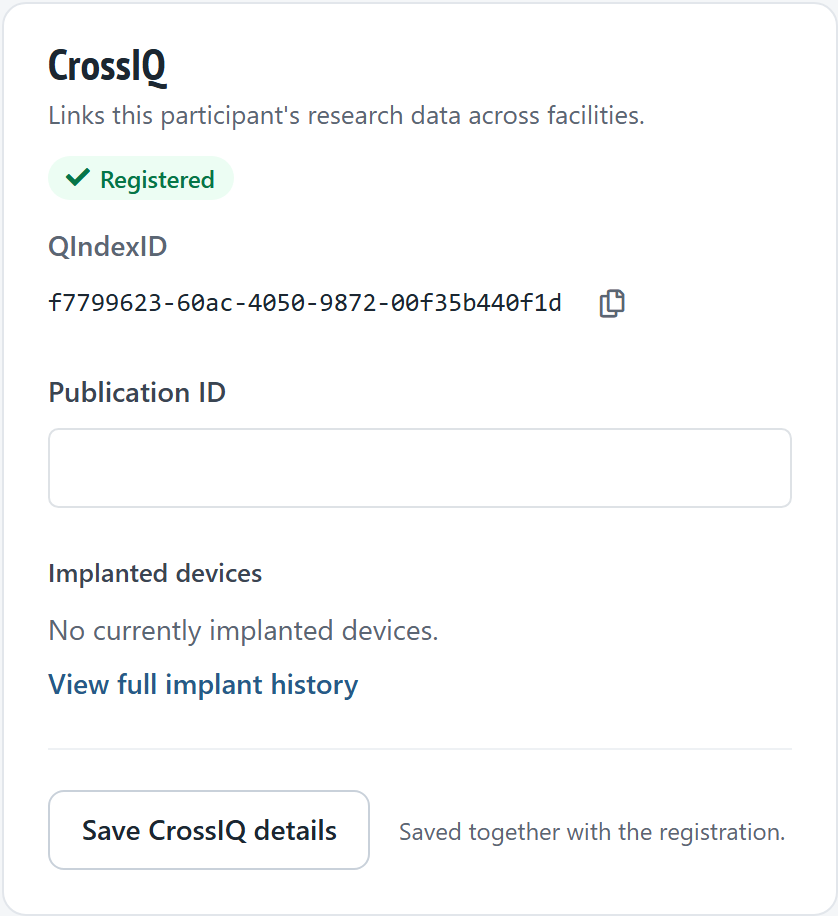
Under Study implant surgeries, click Record New Surgery.
-
Enter the Surgery Date, Type, Description, Associated Study, Site, Hospital / Facility and Purpose.
-
Add each implanted or explanted component from the lists.
-
Click Save Changes. Saving… shows until the surgery is saved, then the list of surgeries updates.