
For administrators. The Admin group is at the bottom of the side menu.
Finding a user
-
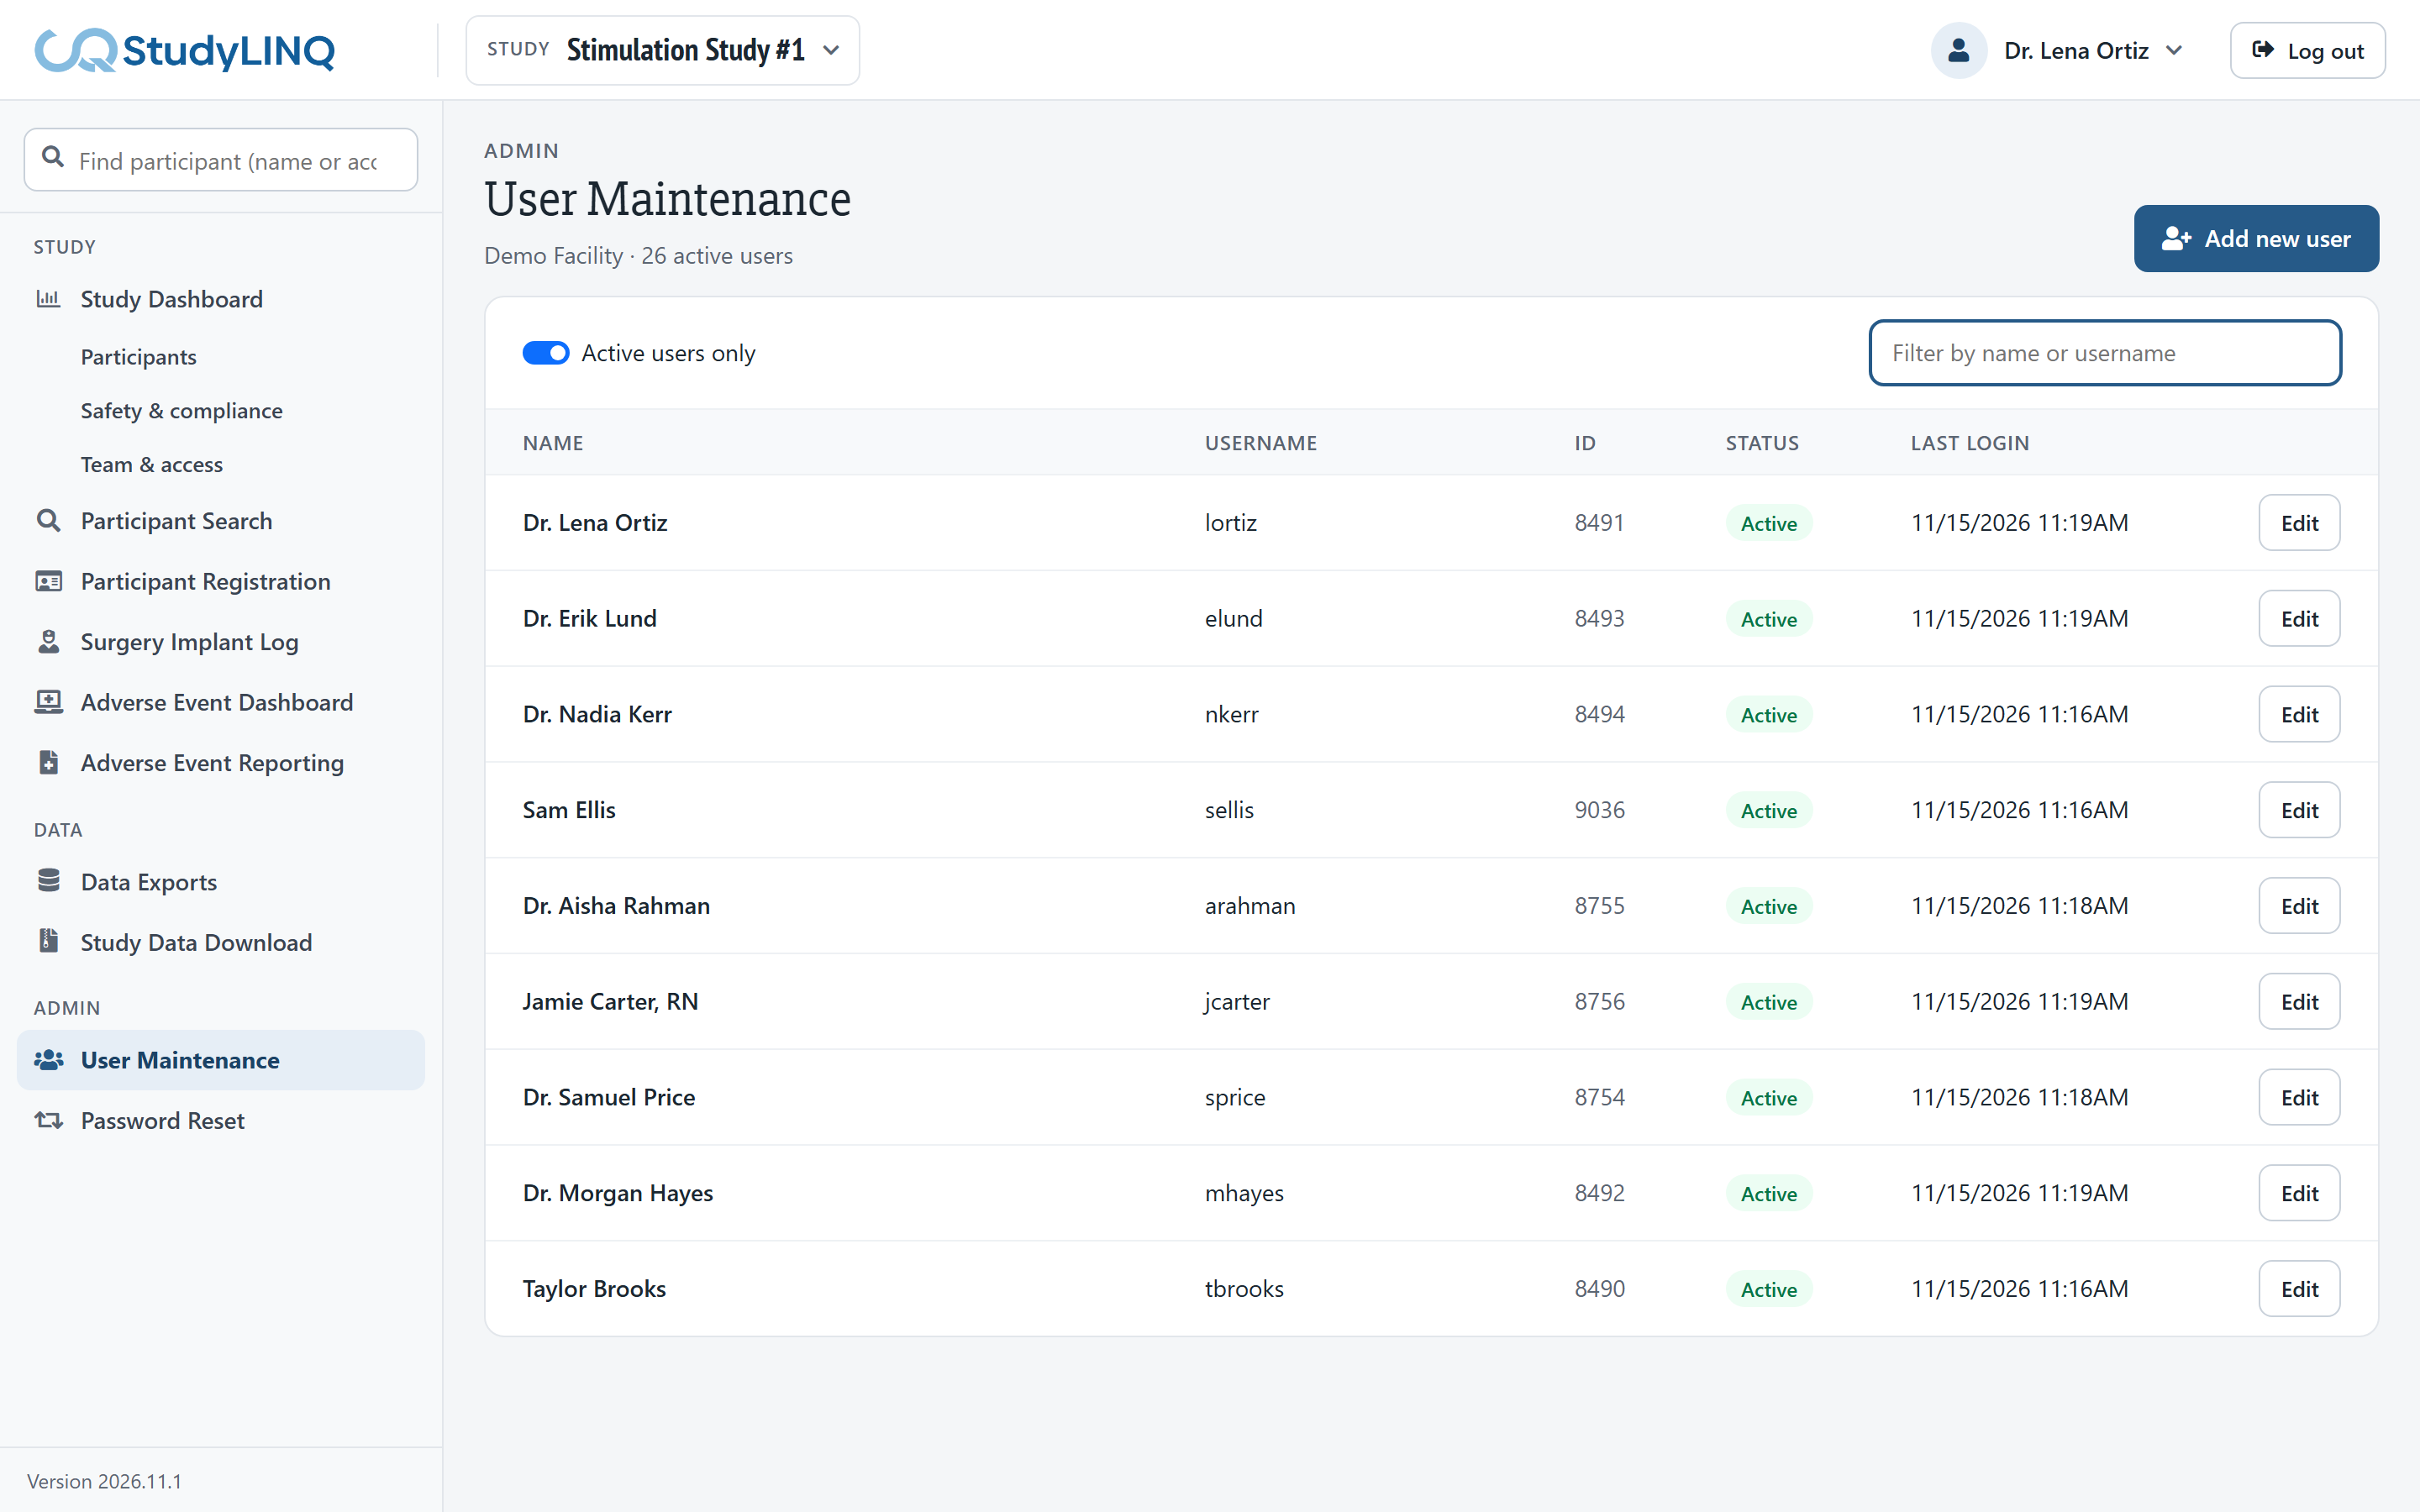
Click User Maintenance.
-
Global administrators: choose the Facility.
-
Type a name or username in Filter users. Turn off Active users only to include inactive users.
-
Click Edit (or the row) to open the user.
Adding a user
-
Click Add new user.
-
Enter the Username, First name, Last name, Full name, Email and Phone.
-
Choose the Department, User group and Default time zone.
-
Click Create user.
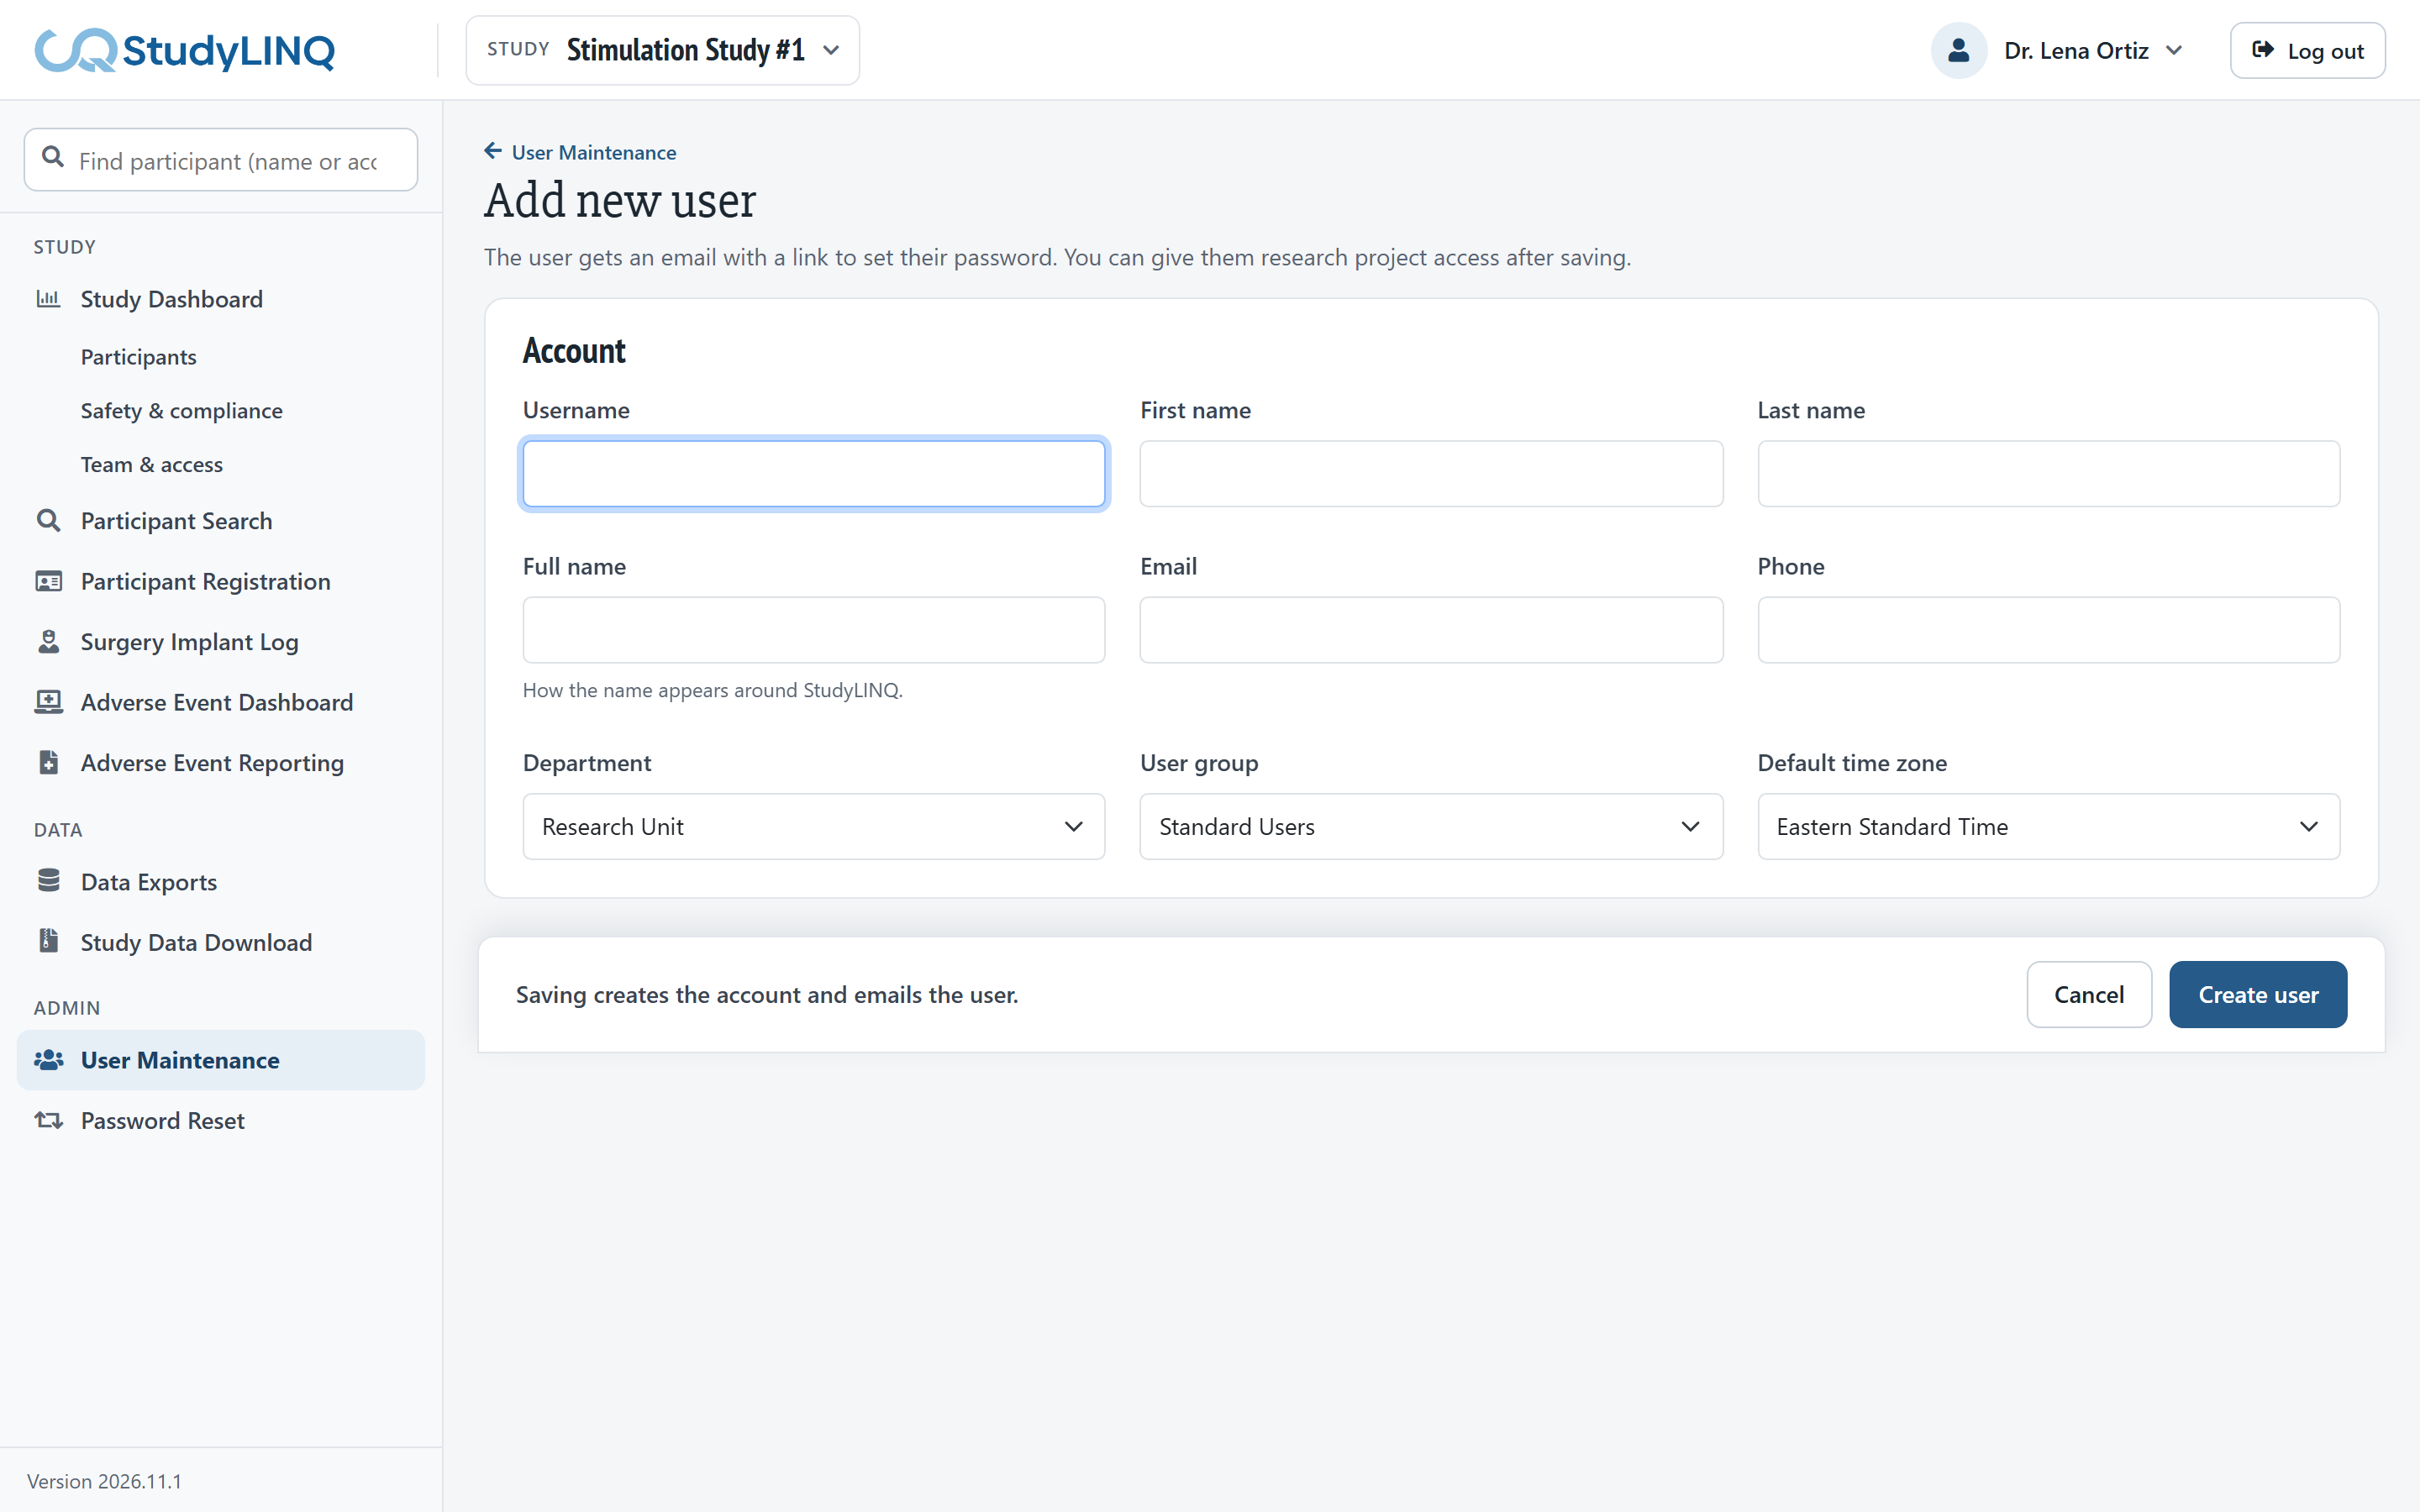
The user gets an email with a link to set their password, and the new user opens so you can give them research project access (below).
Changing a user's details
-
Open the user.
-
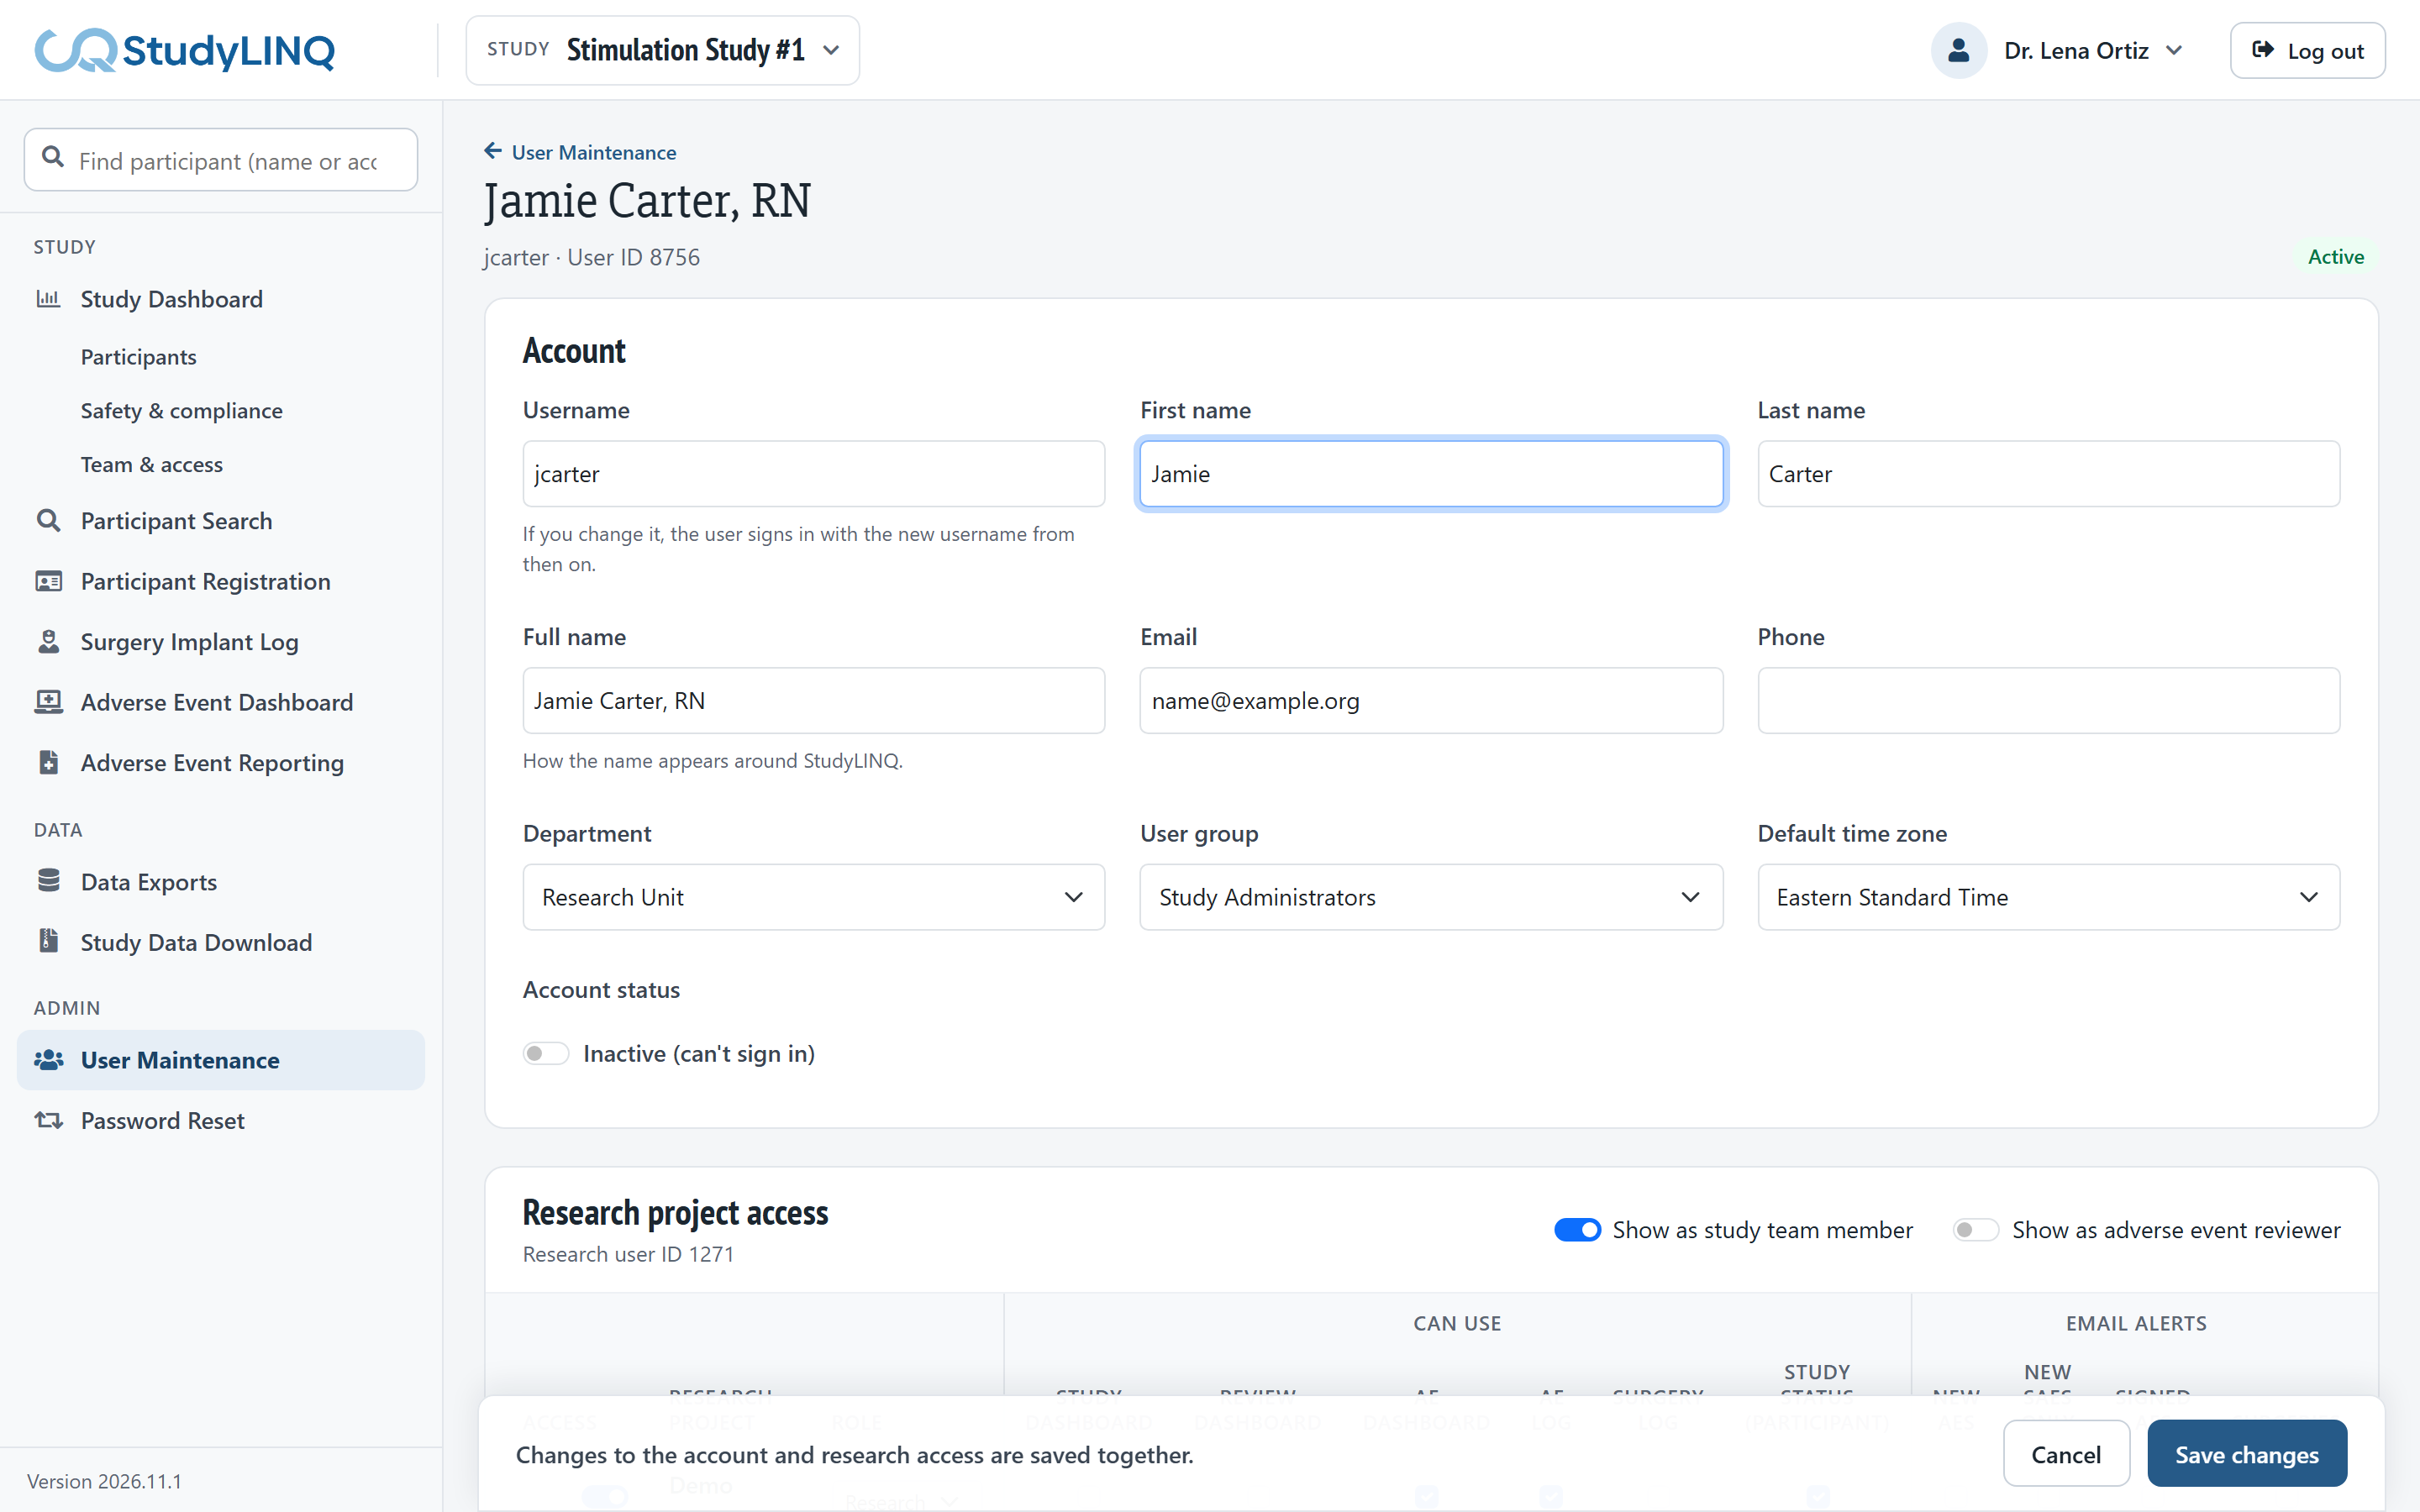
Change the details, including the Username if needed.
-
To stop someone signing in, turn on Inactive (can't sign in).
-
Click Save changes.
Giving research project access
-
Open the user and scroll to Research project access.
-
Choose the project in Select project… and the role in Select role…, then click Add.
-
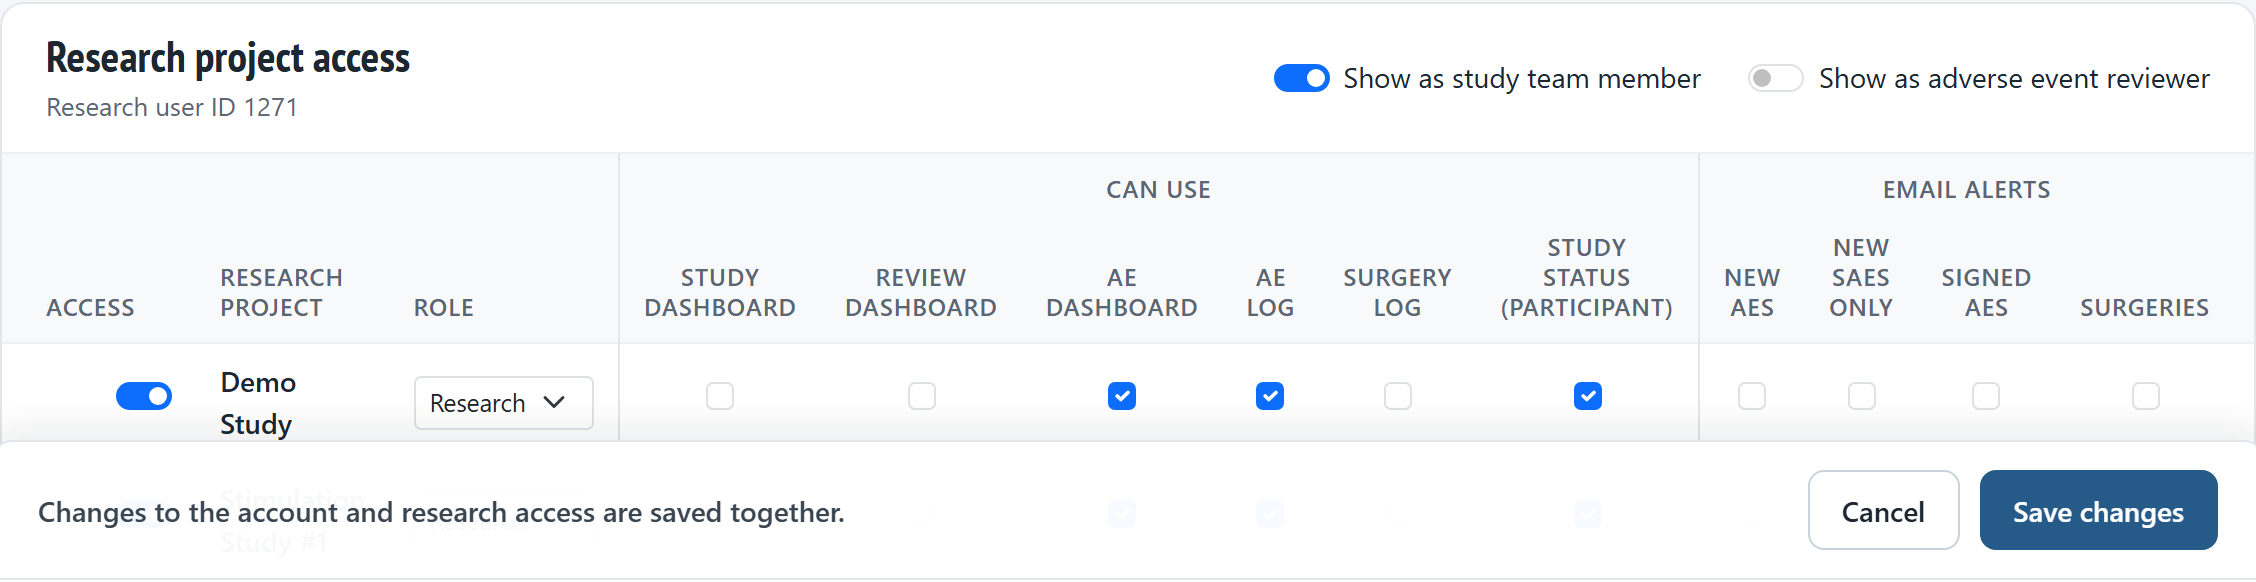
On the project's row, tick what the user can use: Study Dashboard, Review Dashboard, AE Dashboard, AE Log, Surgery Log and Study status (participant).
-
Tick the email alerts they should receive: New AEs (or New SAEs only), Signed AEs and Surgeries.
-
Click Save changes.
-
To remove access to a project, turn off Has access on its row and save. The access is kept as revoked.
-
Turn on Show as study team member to list the user in care team choices, and Show as adverse event reviewer to list them as a reviewer.
Sending a password reset link
-
Click Password Reset.
-
Global administrators: choose the Facility.
-
Type in Search by name or username.
-
Click Reset password on the user's row, then confirm.
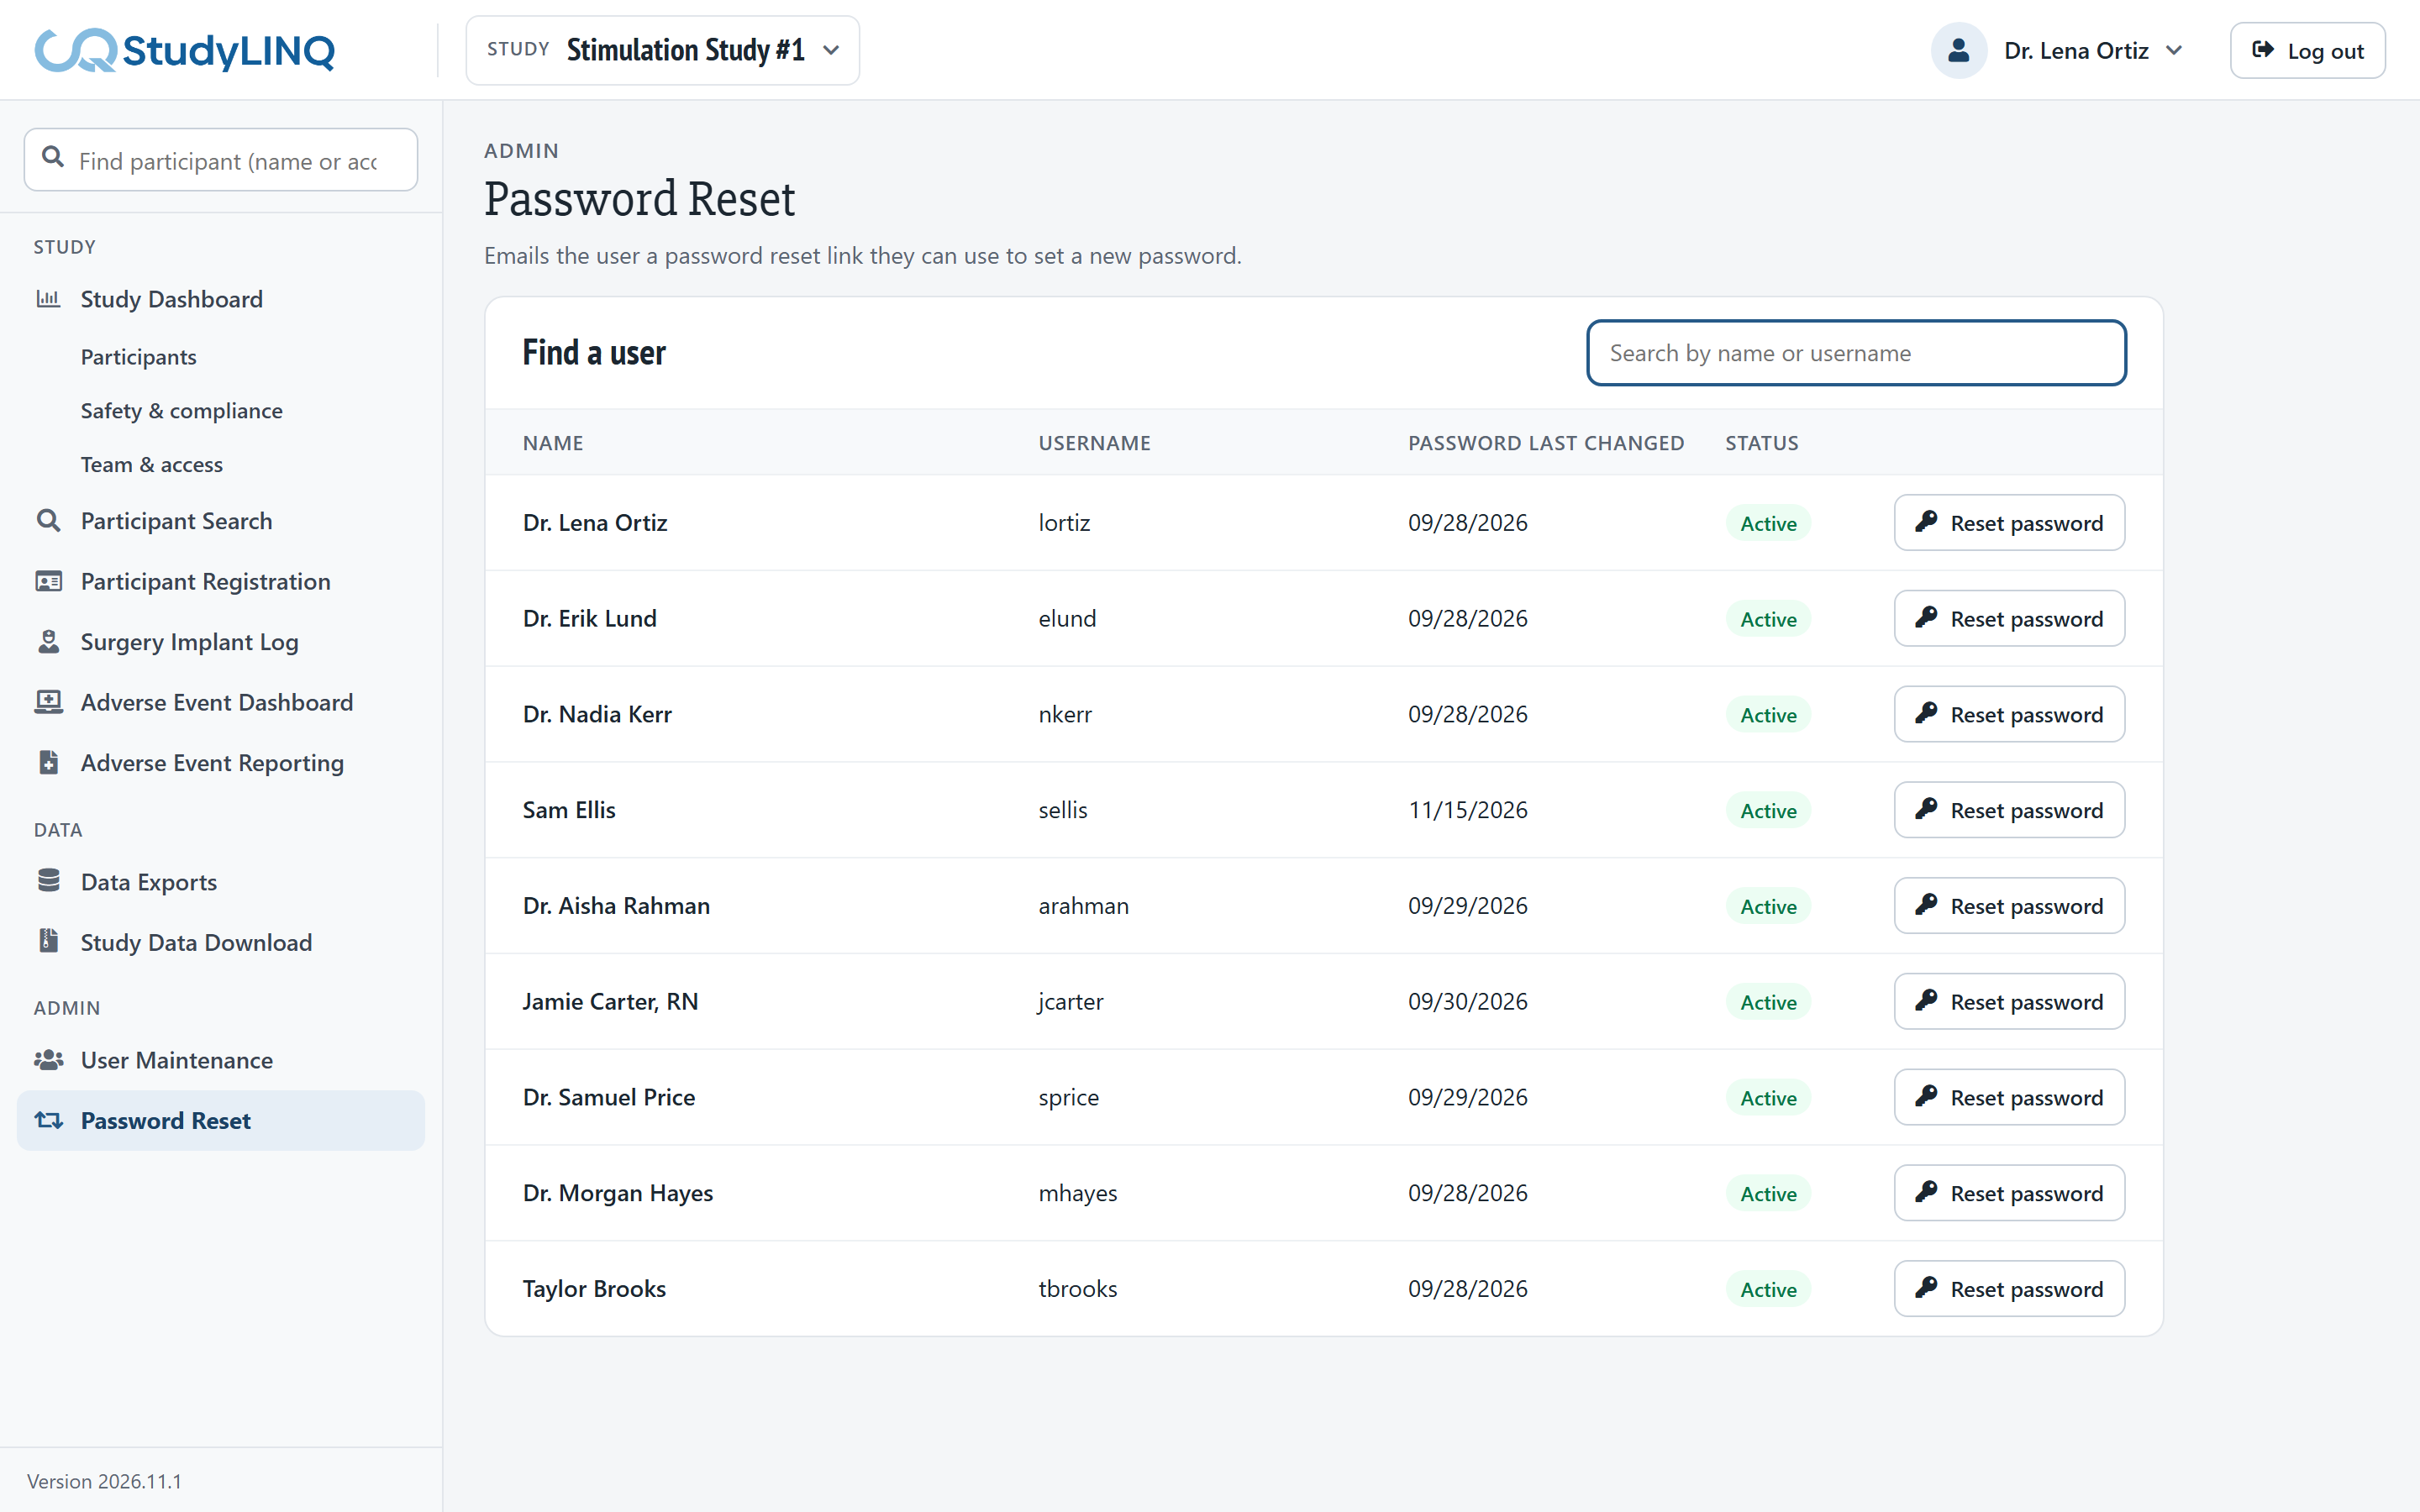
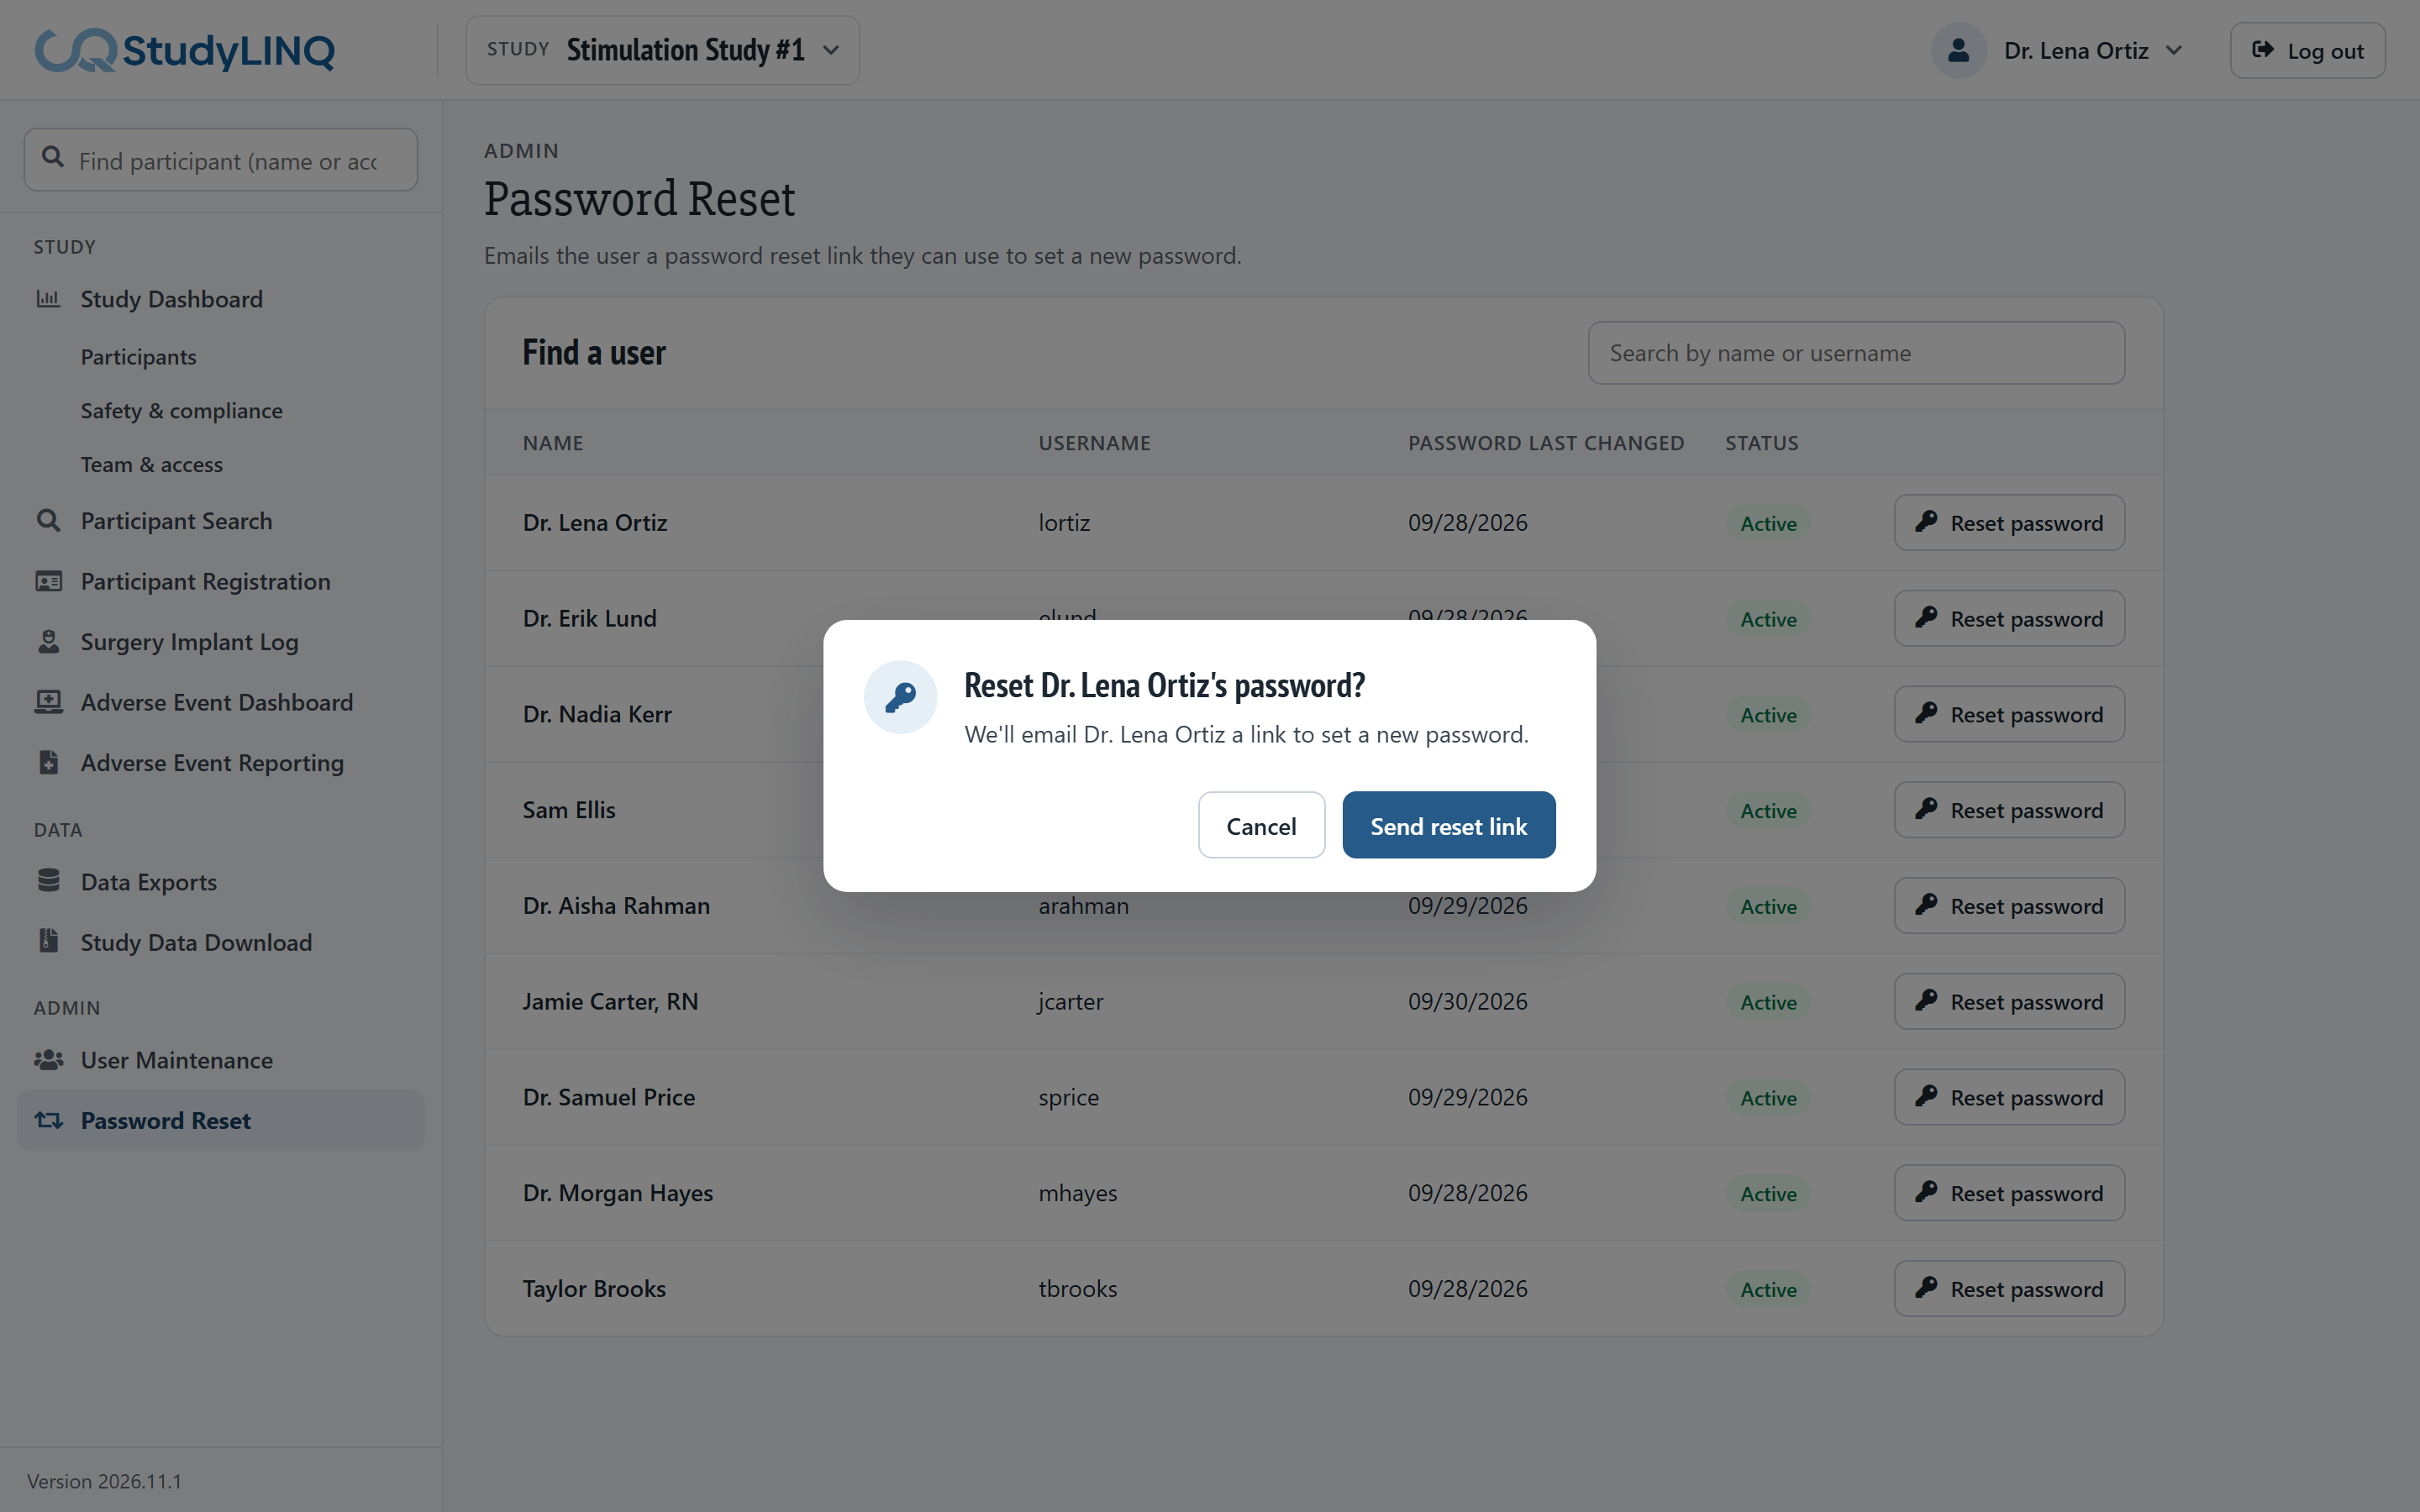
The user gets an email with a link to set a new password. The link works for 30 minutes. Reset password is disabled for a user with no email address; add one in User Maintenance first.